REINFORCEKIT® PATCH + STRUCTURE – Middle East
Long-term composite repair solution for tank and pressure vessel reinforcement
Overview
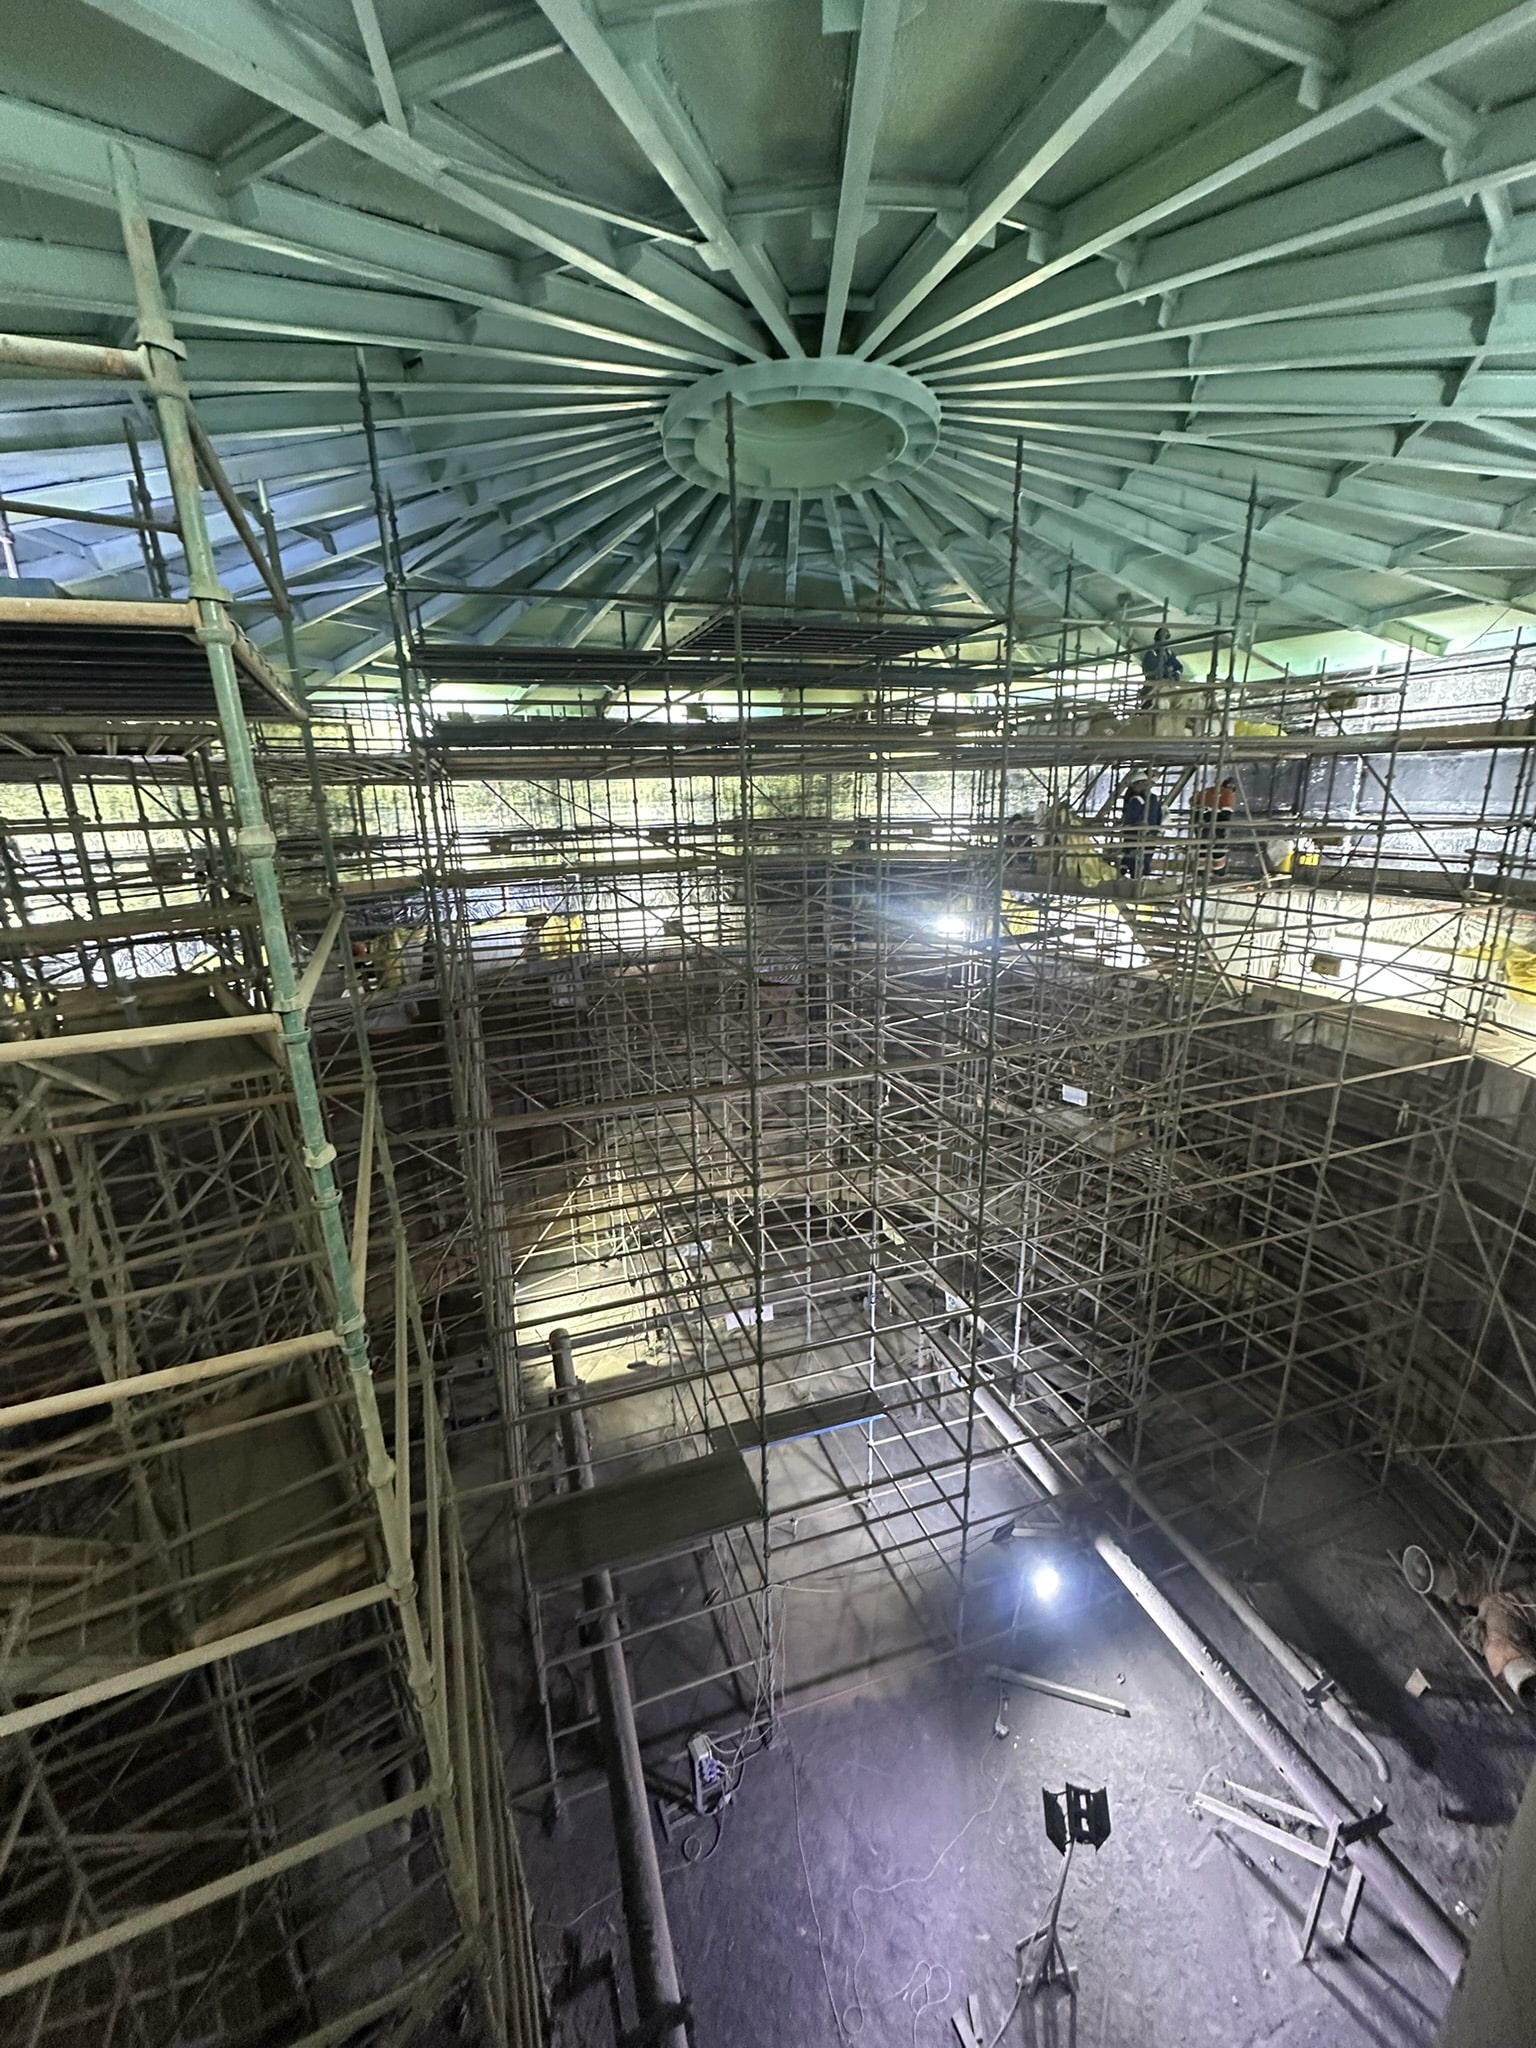
The objective of the repair campaign carried out in 2025, over an eight-month period (from March to October), by 3X ENGINEERING (3X) specialists was to restore the mechanical integrity of a large storage tank that had progressively deteriorated due to corrosion. The structure presented damages across three main components: the roof, the shell (walls) and the roof-supporting beams. To resolve these issues, the roof and shell were repaired using REINFORCEKIT® PATCH solution while the beams were structurally reinforced with REINFORCEKIT® STRUCTURE system.
Results
This project represents the largest repair campaign ever performed by 3X ENGINEERING, involving the reinforcement of of roof, of walls and the repair of 192 structural beams. Completed within eight months, the intervention successfully restored the tank's mechanical integrity despite severe corrosion affecting all key components. This achievement highlights the reliability of 3X composite solutions for extending asset service life in demanding industrial environments.
 Defect type |
Corrosion on tank roof + walls + beams |
Details |
Storage tank, oil, 840" diameter |
Location |
Middle-East |
3X Product type |
REINFORCEKIT® PATCH + STRUCTURE |
Scope of work
The repair design for each damaged area was carried out in accordance with ASME PCC-2 standard supported by 3X advanced engineering approach combining calculations and finite element analysis (FEA). The execution of the repairs was divided into three distinct scopes, each tailored to the specific condition and location of the damage within the tank.
1) STRUCTURAL BEAM REINFORCEMENT with REINFORCEKIT® STRUCTURE
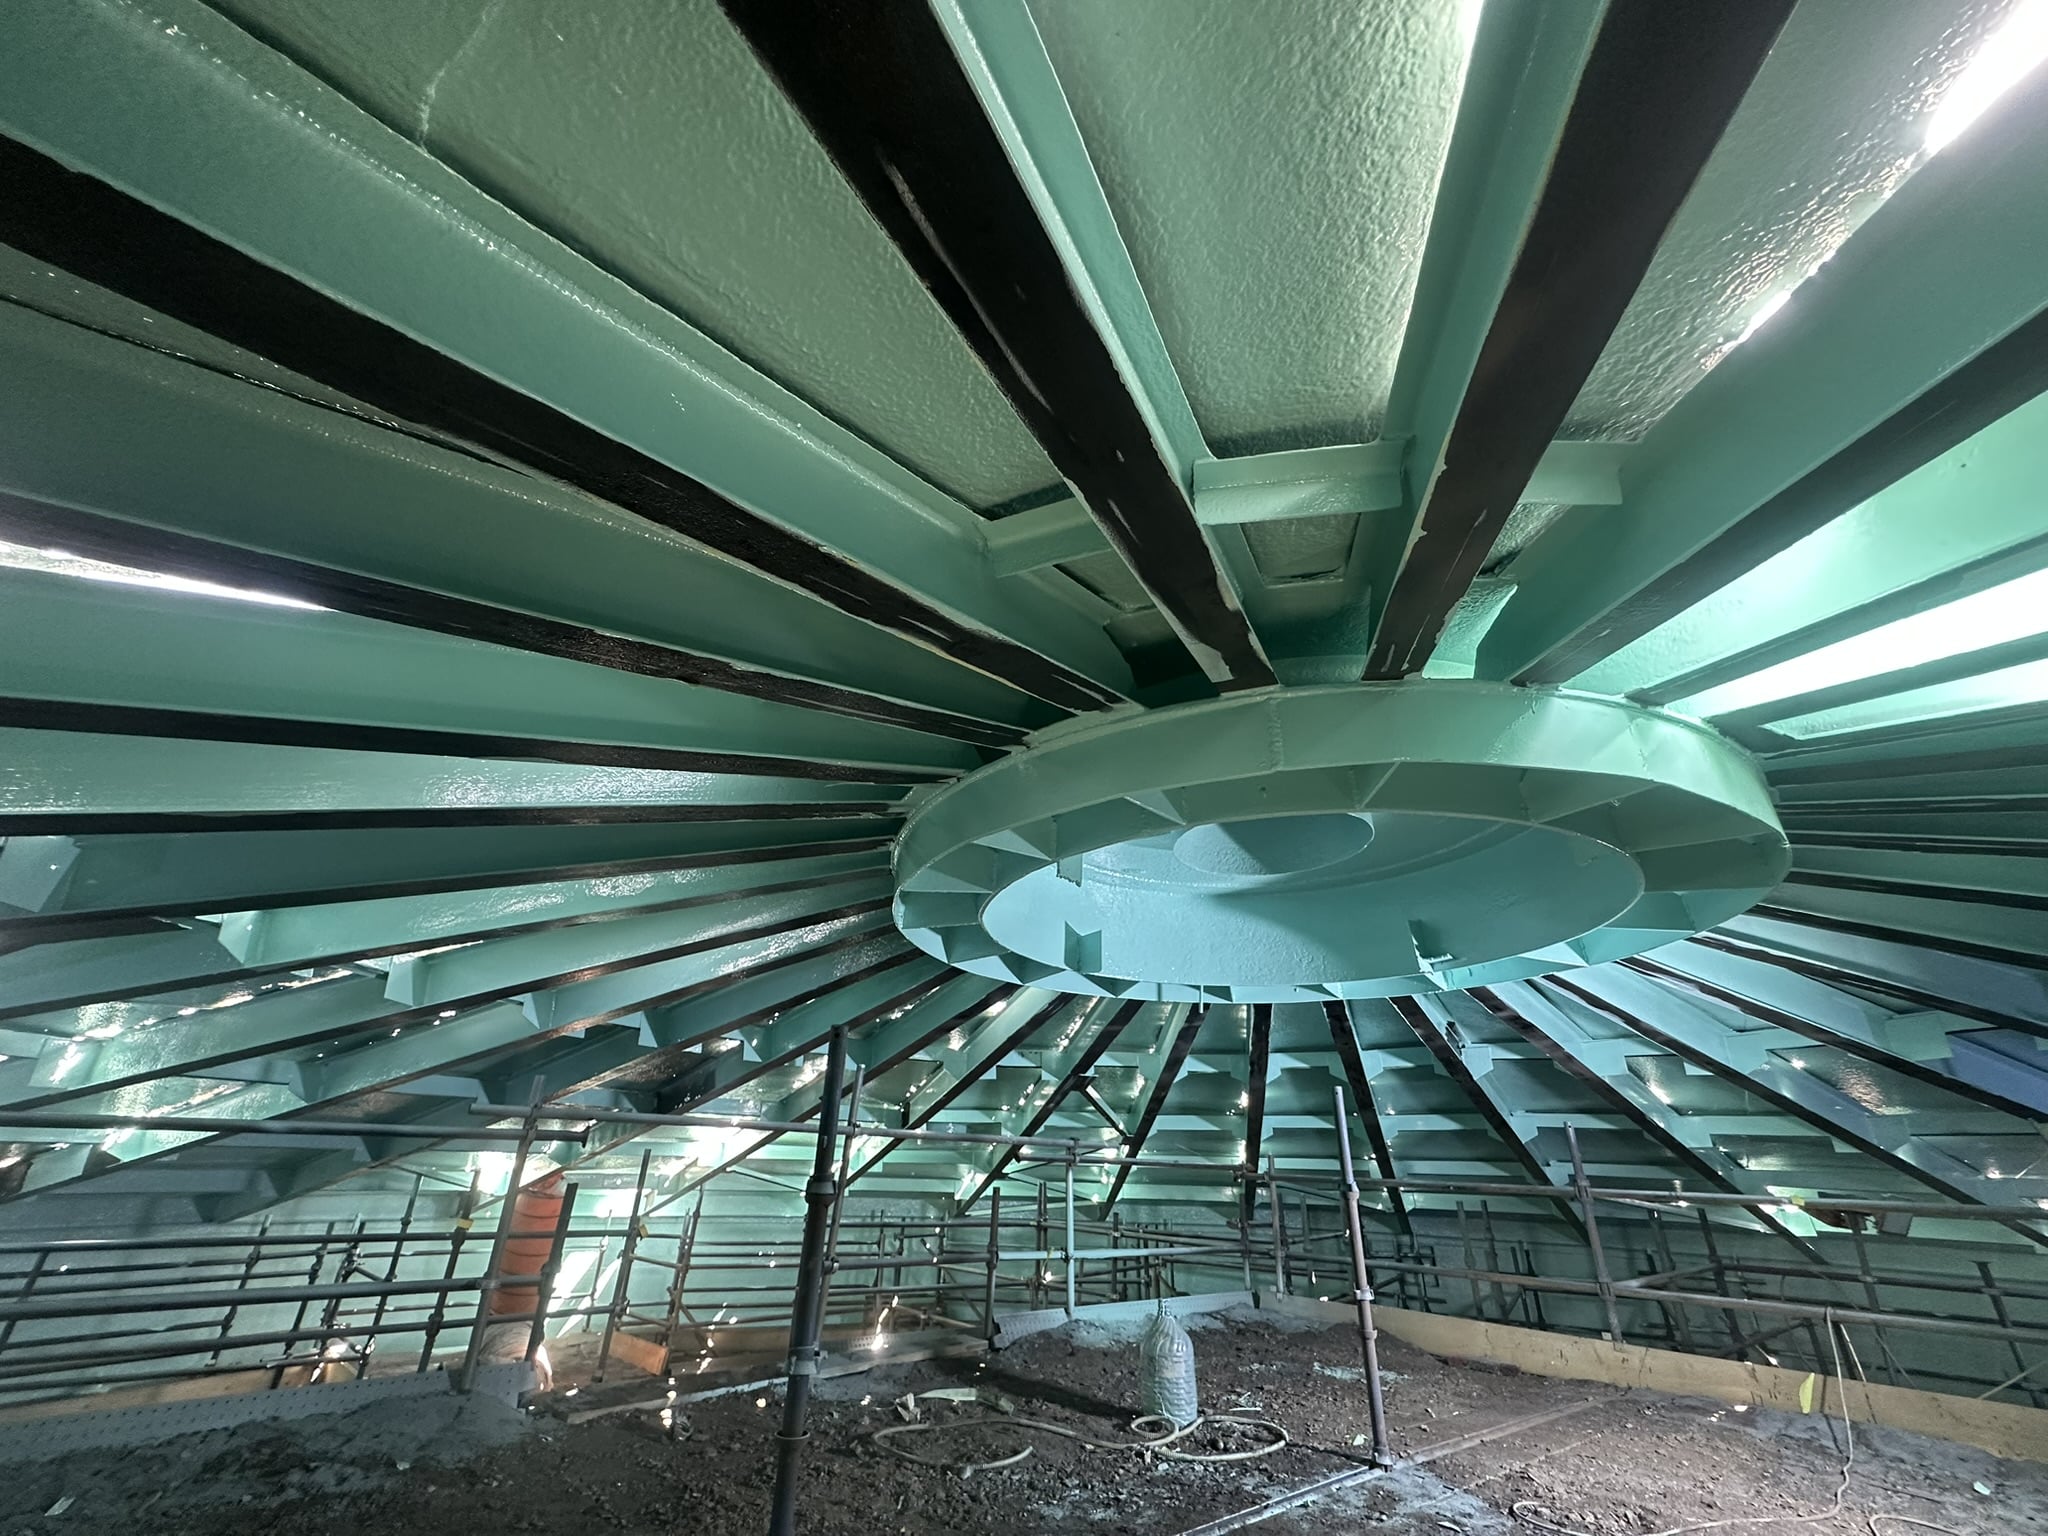
The 1st phase of this project focused on restoring the structural integrity of the beams supporting the tank roof. Due to the structure's age, these beams had suffered from severe corrosion. Based on FEA results, the selected repair solution involved applying carbon plates to most of the beams. For the most critical ones, a reinforced system combining carbon blocks wrapped with Kevlar® tape and bonded with 3X epoxy resin was required. The main stages of the composite repair process are as follows:
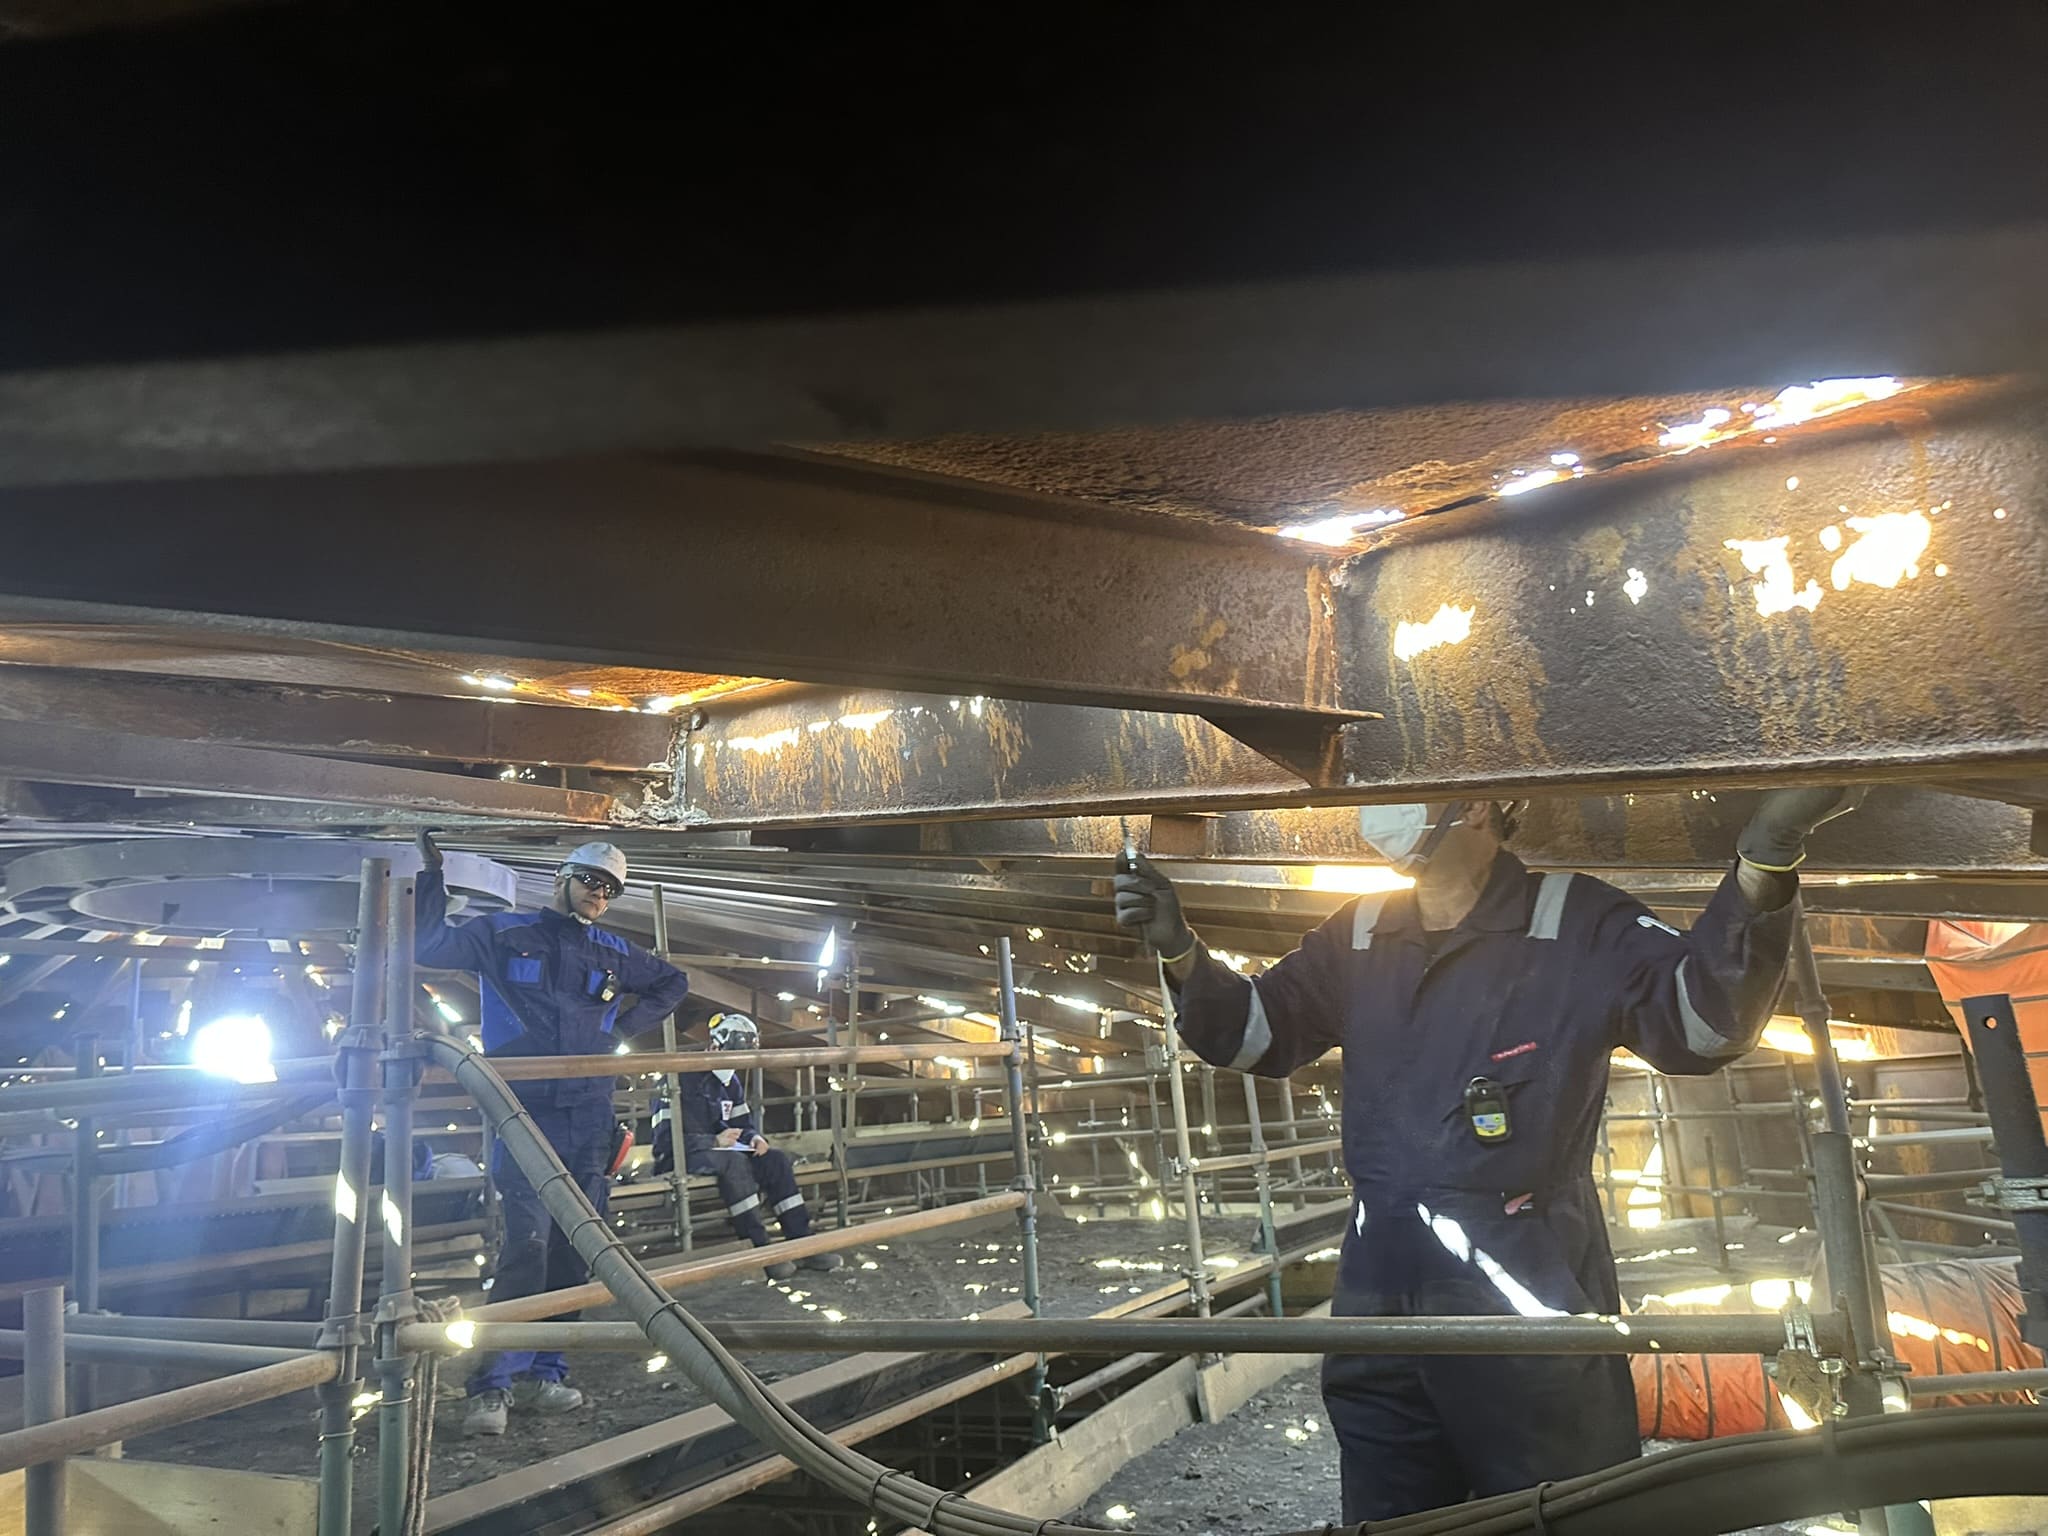
1. SURFACE PREPARATION: All affected areas (in this case, the undersides of all beams inside the tank) were sandblasted to remove corrosion and contaminants, ensuring optimal adhesion of 3X repair system. Once sandblasting was complete, the quality of the surface preparation was inspected and confirmed to be in excellent condition, enabling the next stage.
2. ANTI-CORROSIVE RESIN LAYER APPLICATION: An anti-corrosion resin was applied to all beam undersides using paint rollers. Prior to application, environmental conditions were verified to ensure optimal mechanical and chemical performance.
3. REINFORCEMENT SOLUTION APPLICATION:
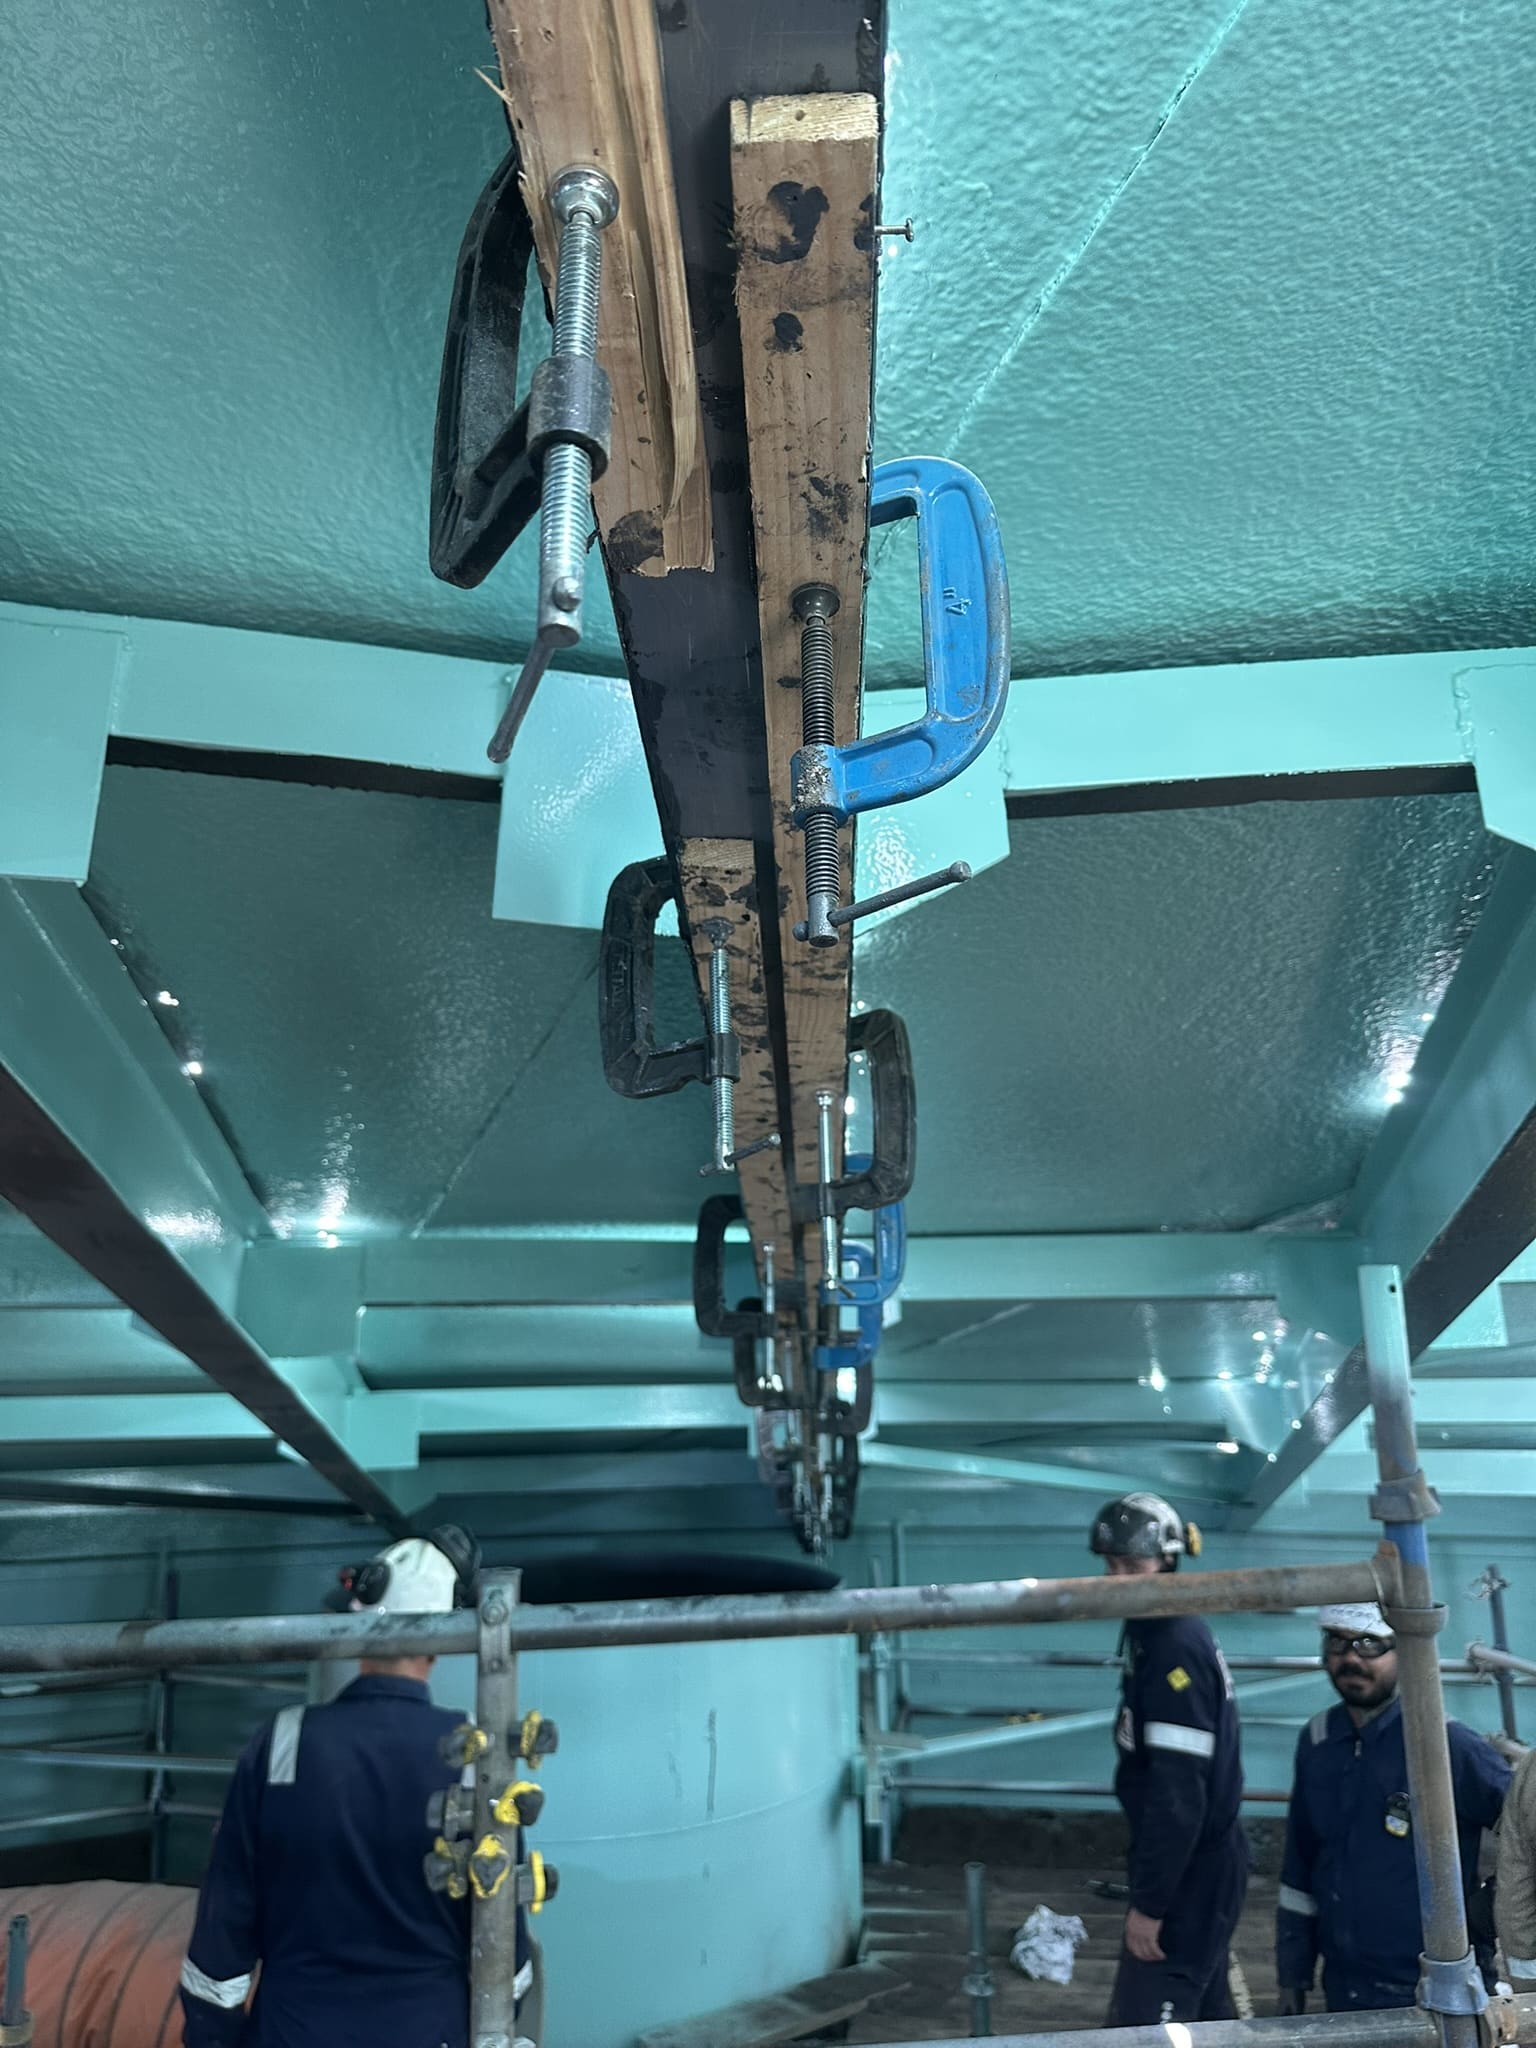
• Most of the beams (i.e. 185 units) were reinforced by applying carbon plates (previously prepared and custom-cut to match the beam length) and bonded to the undersides of the beams using 3X filler. J-clamps were used to maintain the required pressure during the filler polymerization phase (approx. 50mn).
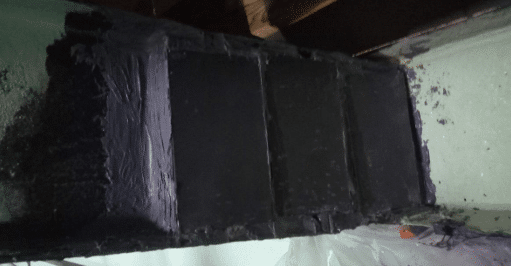
• For the seven beams in critical conditions, with large holes, a specific reinforcement solution was implemented: carbon blocks were inserted on each side of the beam and bonded with 3X resin, then wrapped with four layers of Kevlar® tape impregnated with epoxy resin.
4. FINALIZATION: A final layer of resin was applied to the seven severely damaged beams to ensure a smooth and finished coating.
2) TANK SHELL/WALLS REINFORCEMENT with REINFORCEKIT® PATCH
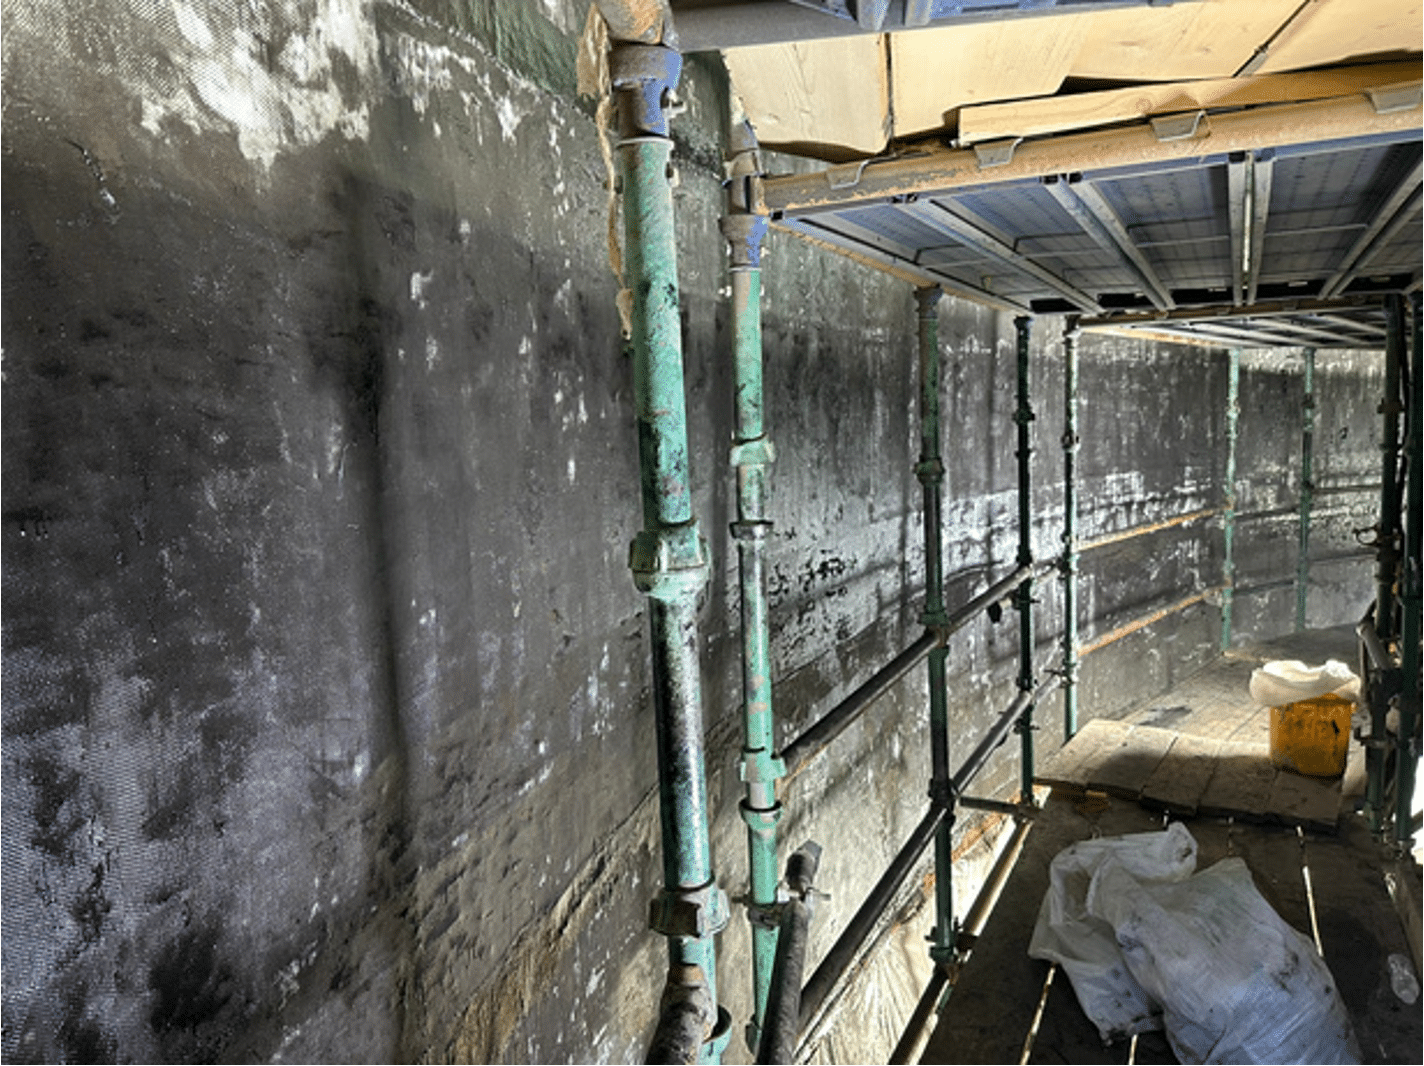
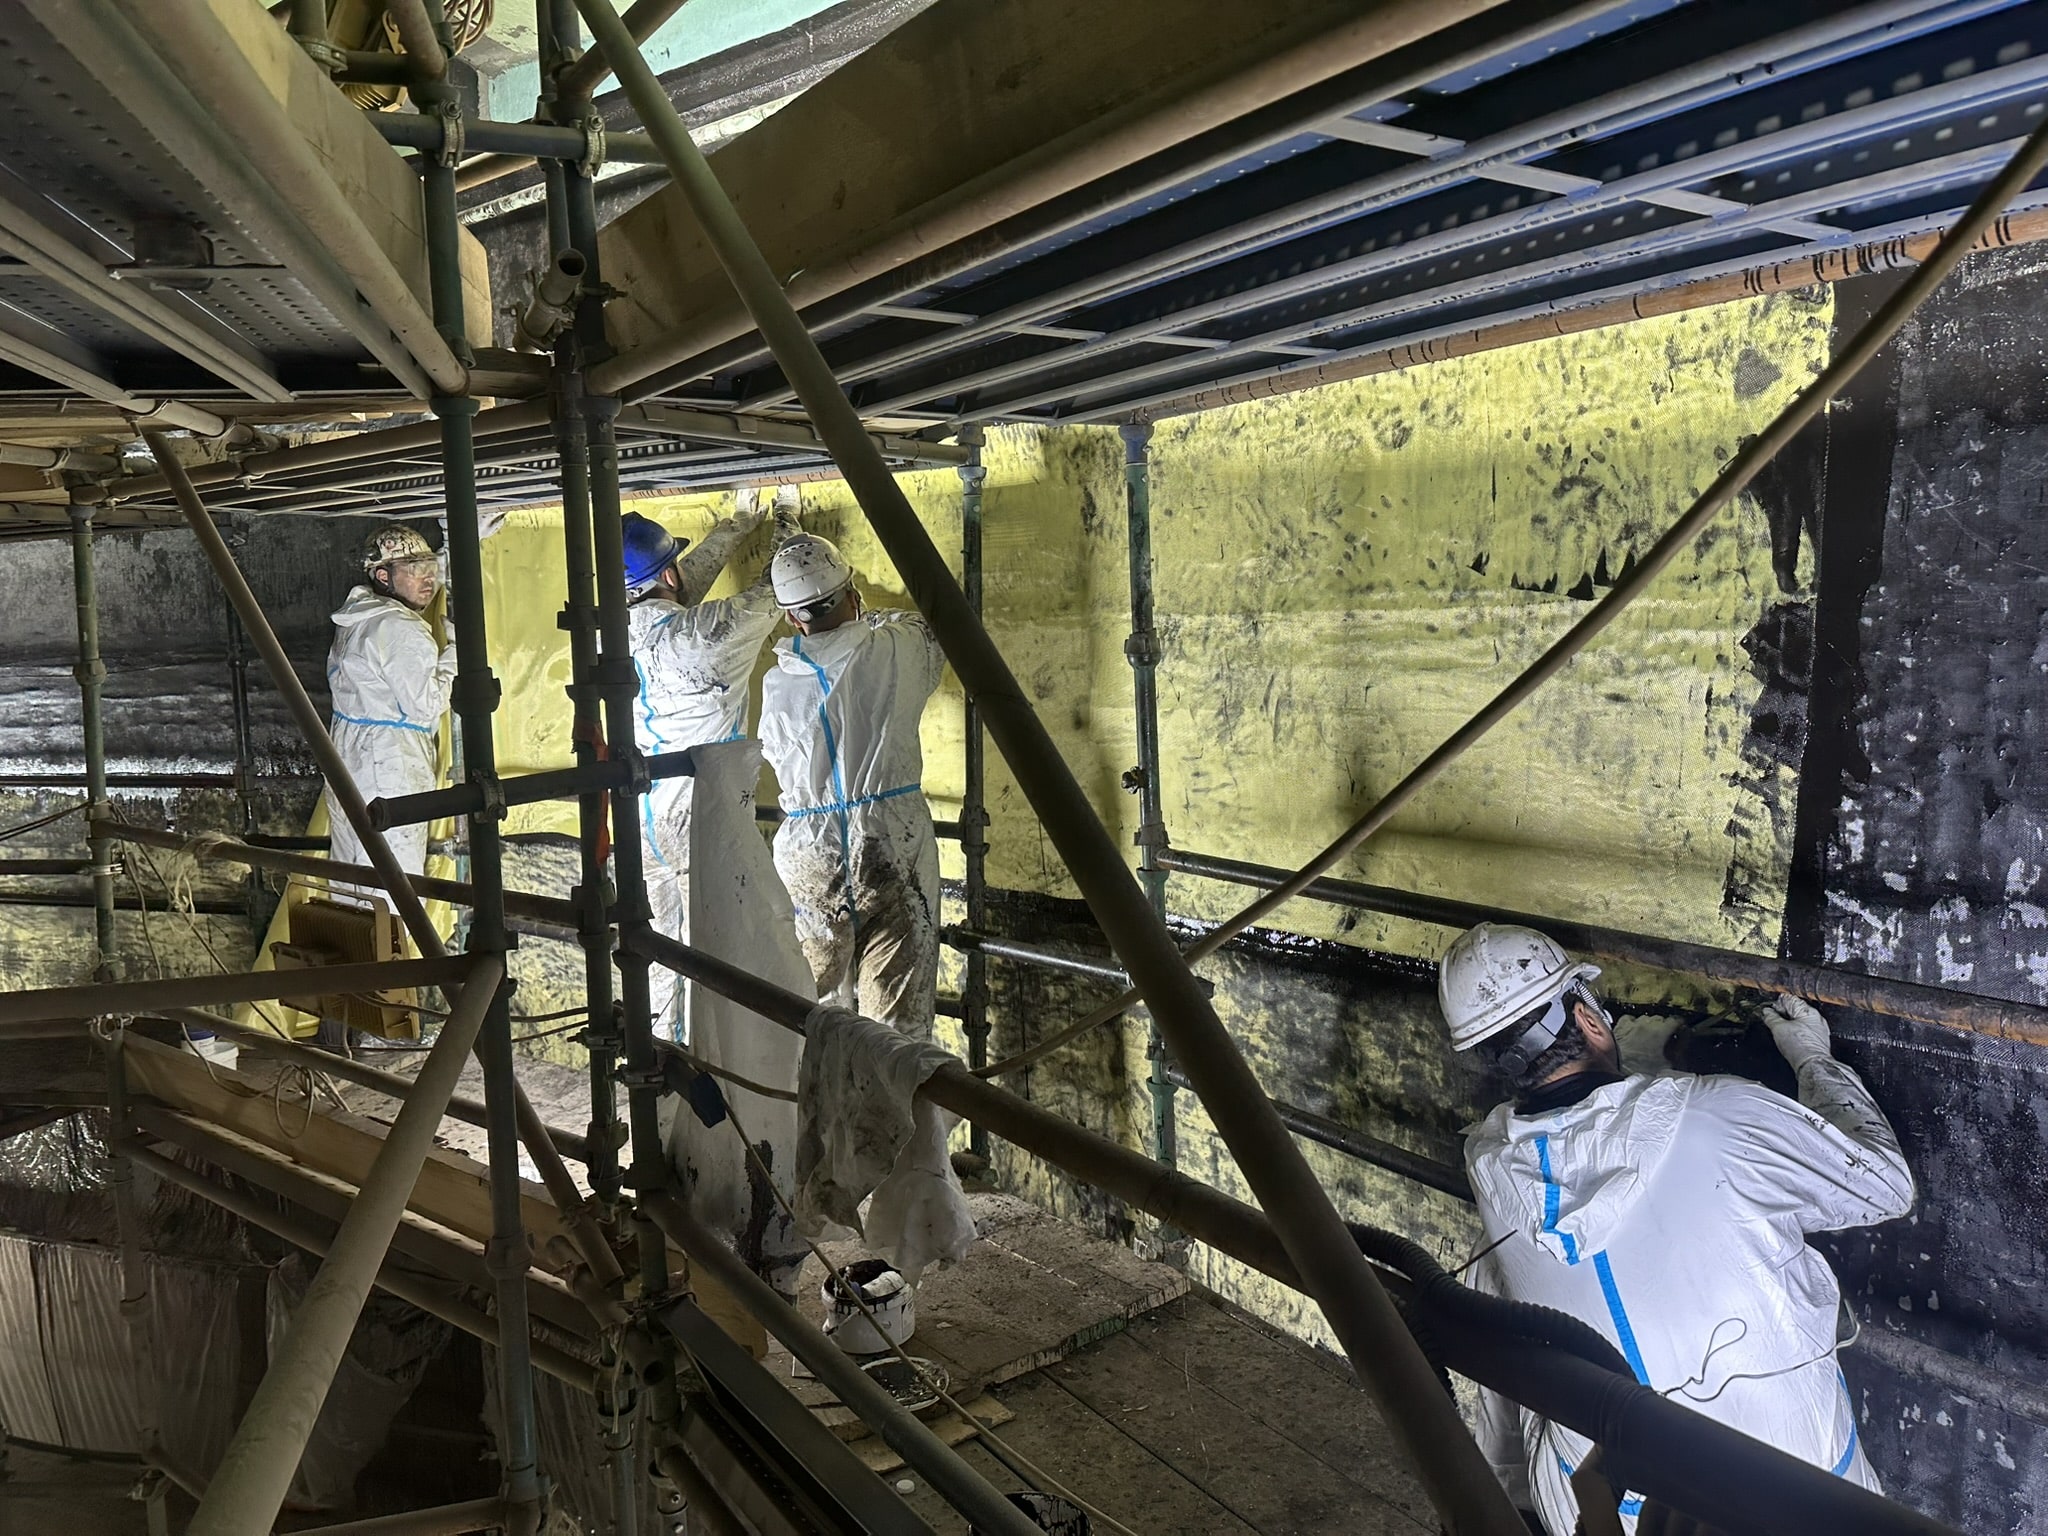
Following inspection, it was determined to reinforce a 3.5m-high section starting from the stiffener using a hybrid solution combining structural reinforcement and corrosion protection. The most severely damaged areas were reinforced using Kevlar® patches applied with epoxy resin while fiberglass patches were used in less affected areas to ensure effective corrosion protection. The main stages of the composite repair process are as follows:
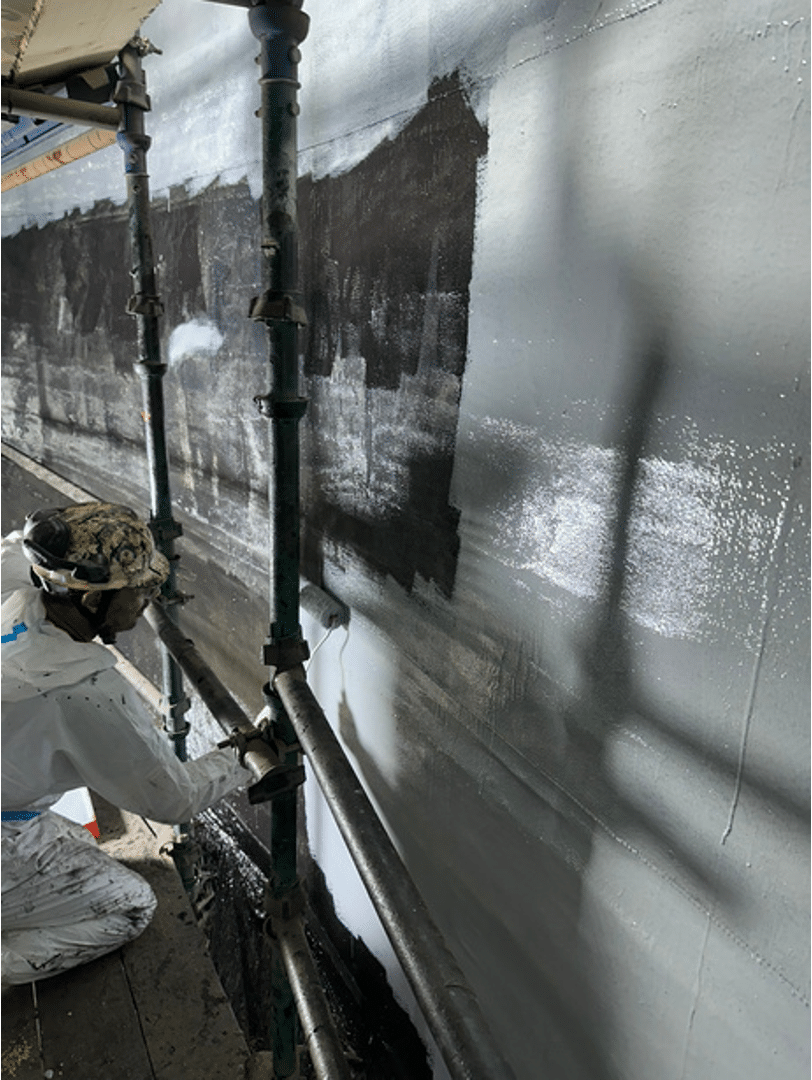
1. SURFACE PREPARATION AND CLEANING: Surface roughness was created by sandblasting over the entire circumference of the tank, up to 4m-height to ensure an adequate safety margin between the corroded zones and the repair area. Once the surface preparation done, the walls were cleaned with acetone and the surface profile was measured and confirmed to meet the minimum required value of 60 microns.
2. ANTI-CORROSIVE RESIN LAYER APPLICATION: A first anti-corrosion layer was applied within 24 hours of surface preparation to protect exposed metal surfaces from corrosion. Hygrometric conditions were then checked.
3. SMOOTHING FILLER LAYER APPLICATION: After full curing of the anti-corrosive layer, 3X filler was applied to smooth surface irregularities and prepare the area for patch installation.
4. COMPOSITE PATCHING REINFORCEMENT:
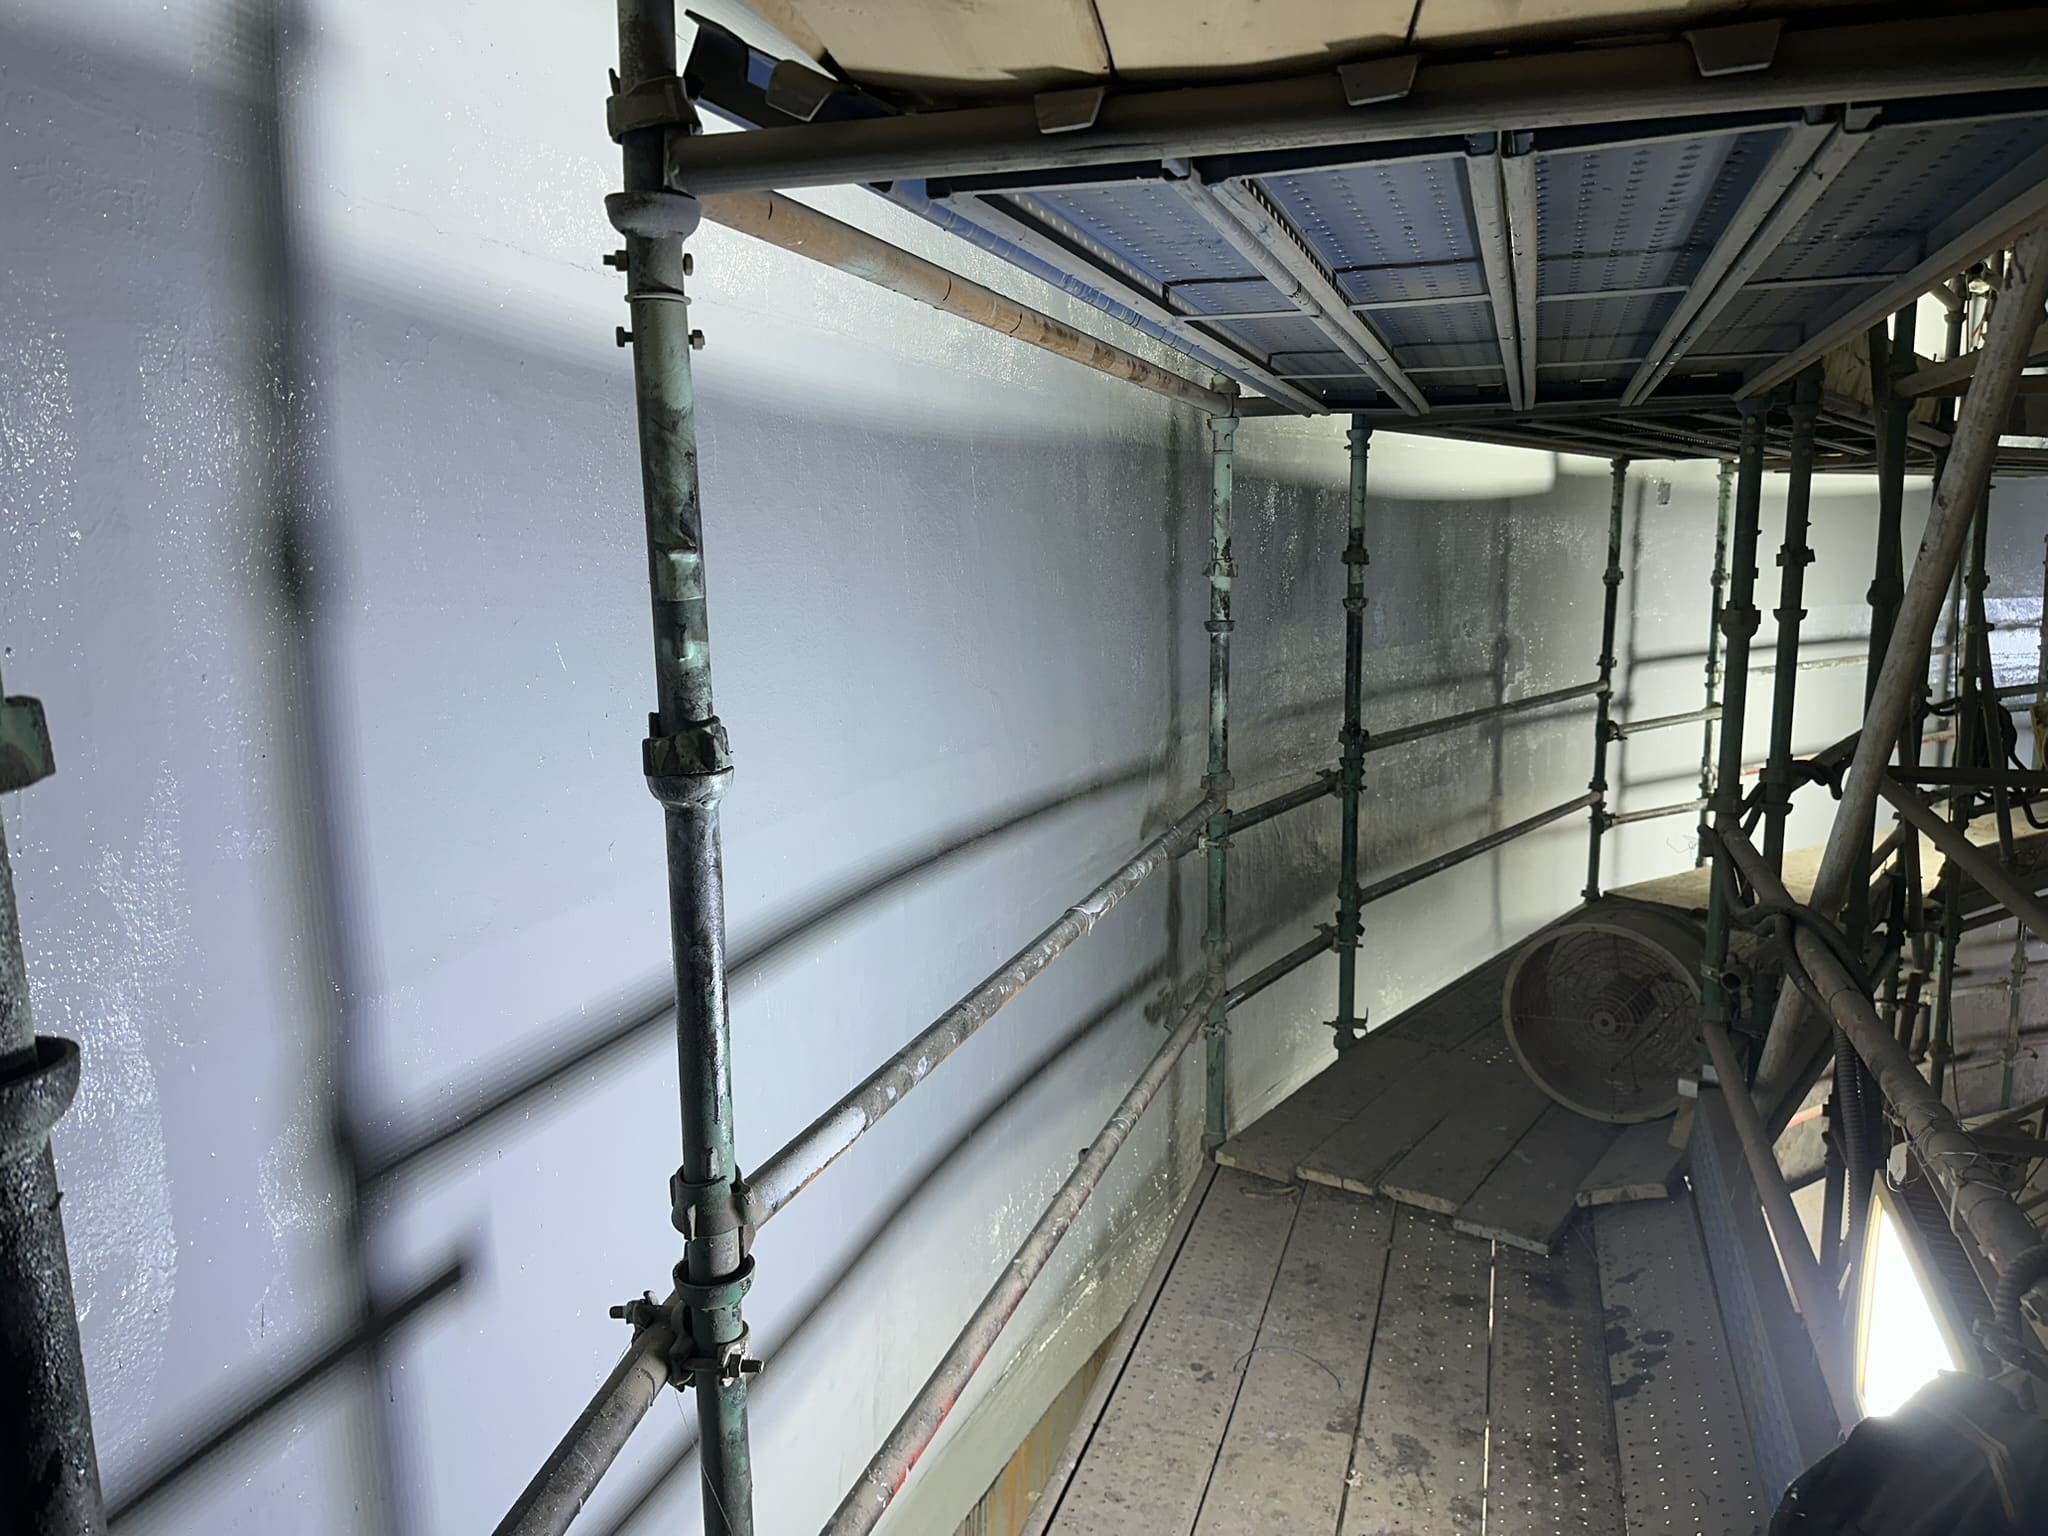
• Nine layers of Kevlar® patches applied with 3X epoxy resin were installed over 23.5m of the tank circumference, covering the most severely corroded areas (average metal loss of 50%).
• Six layers of fiberglass patches applied with 3X resin were installed over 45m of the tank circumference in the less affected areas (approx. 10% metal loss).
5. FINALIZATION: The final resin layer was applied over the entire reinforced area to protect the repair against chemical exposure. Client's final inspection confirmed and validated both the appearance and effectiveness of 3X repair.
3) TANK ROOF REINFORCEMENT with REINFORCEKIT® PATCH
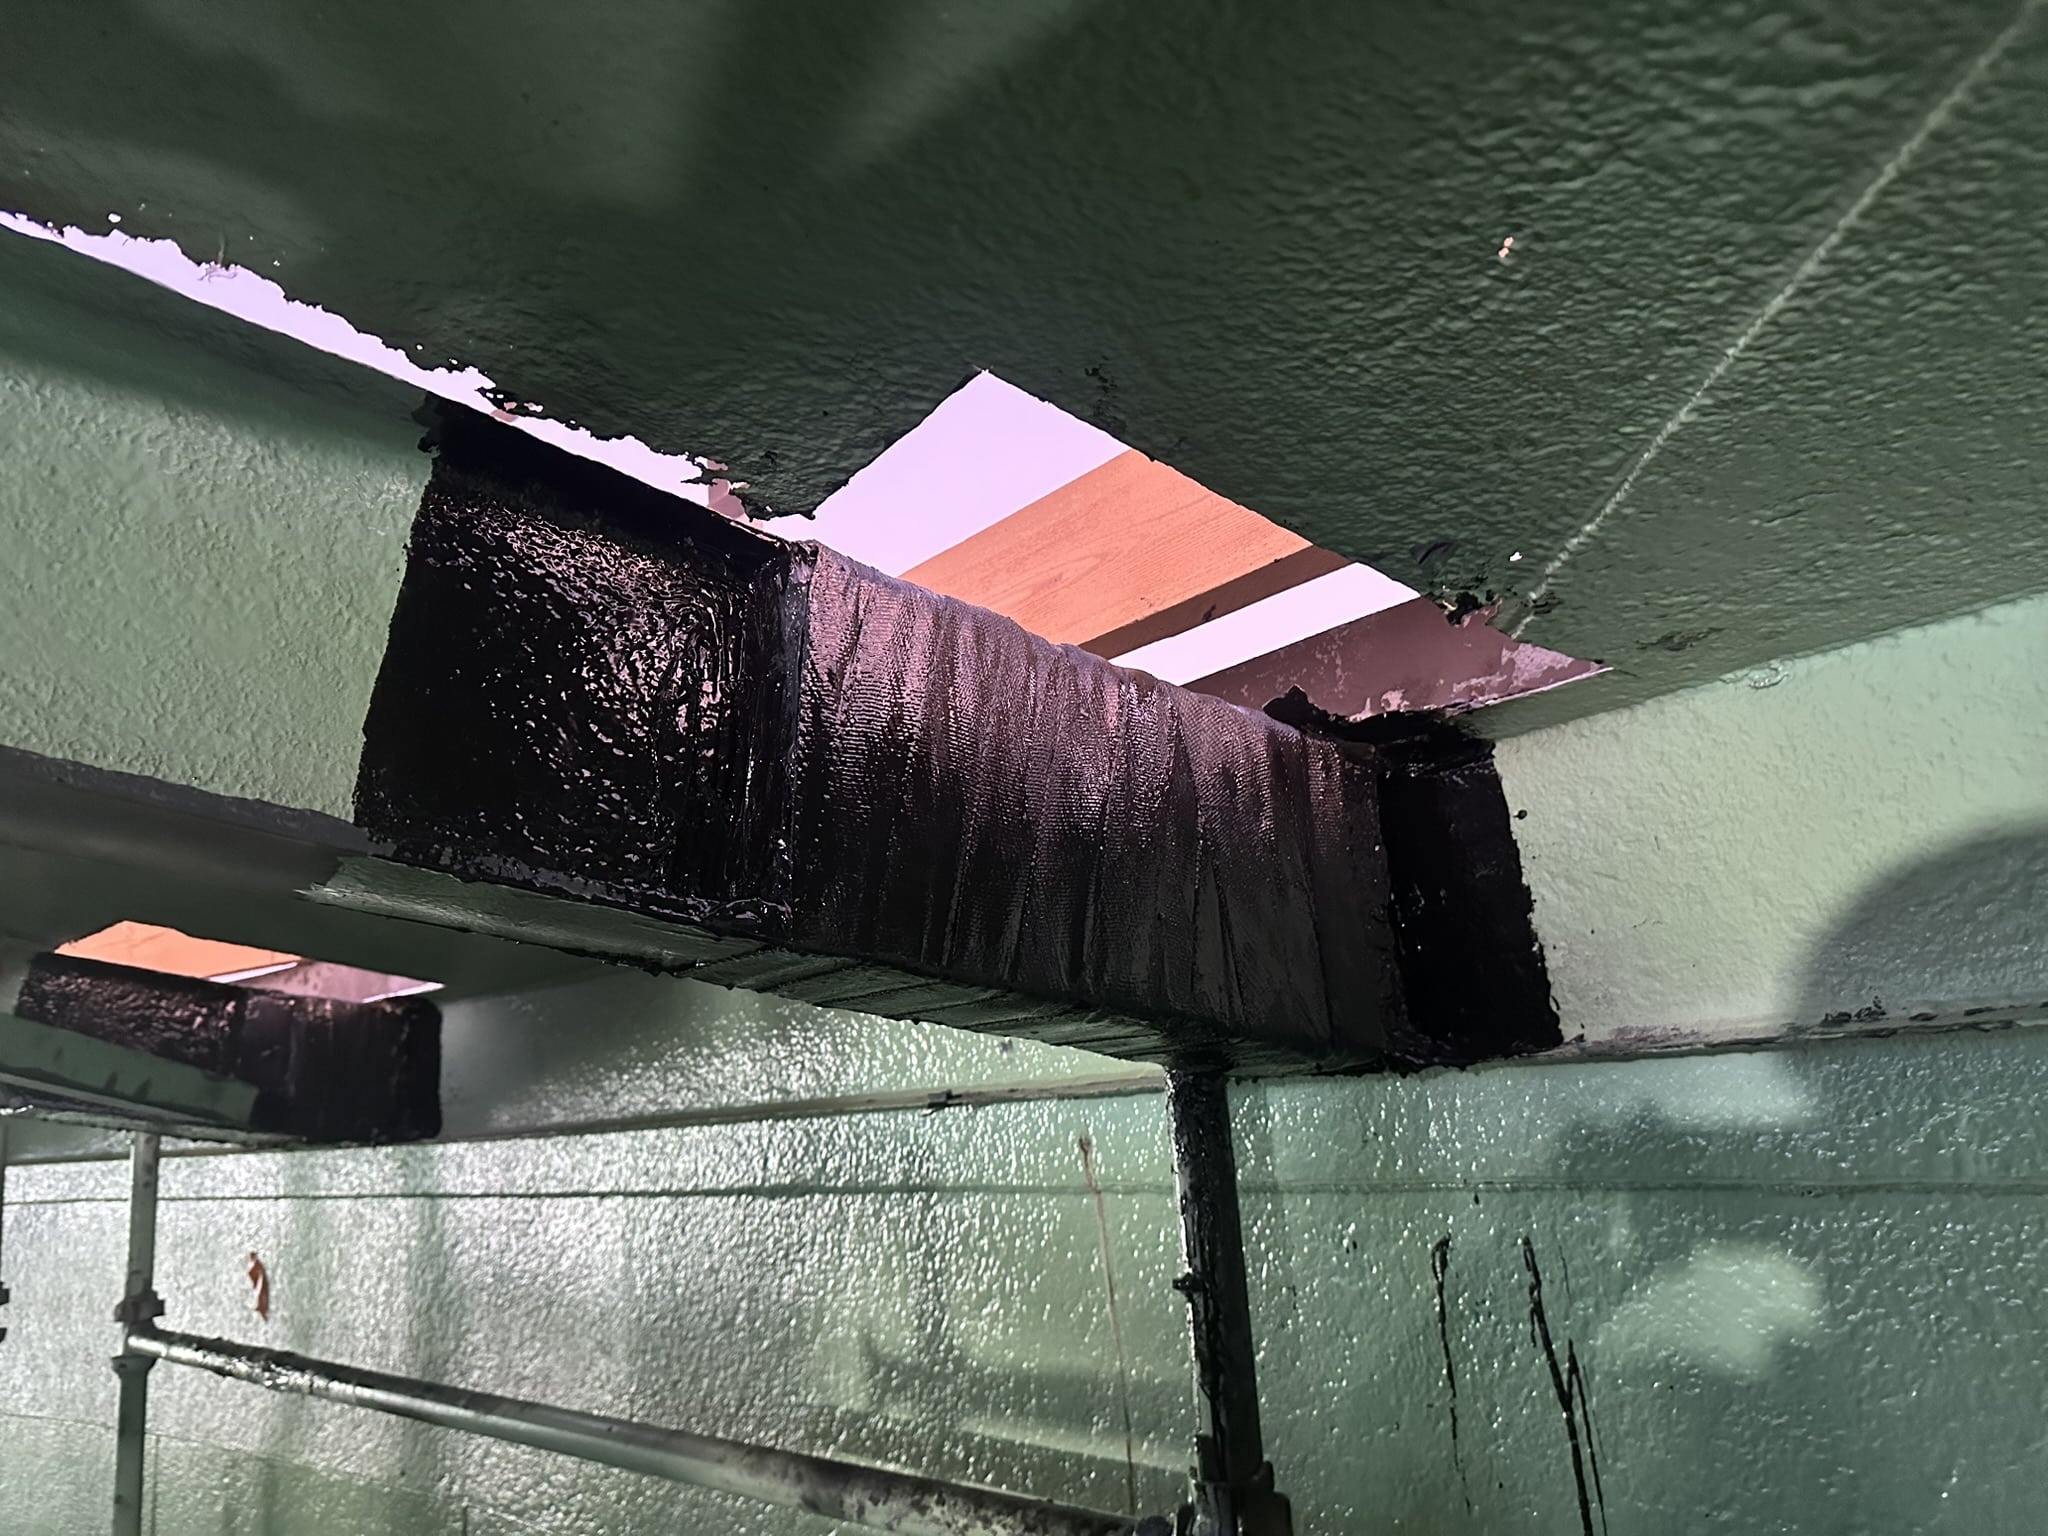
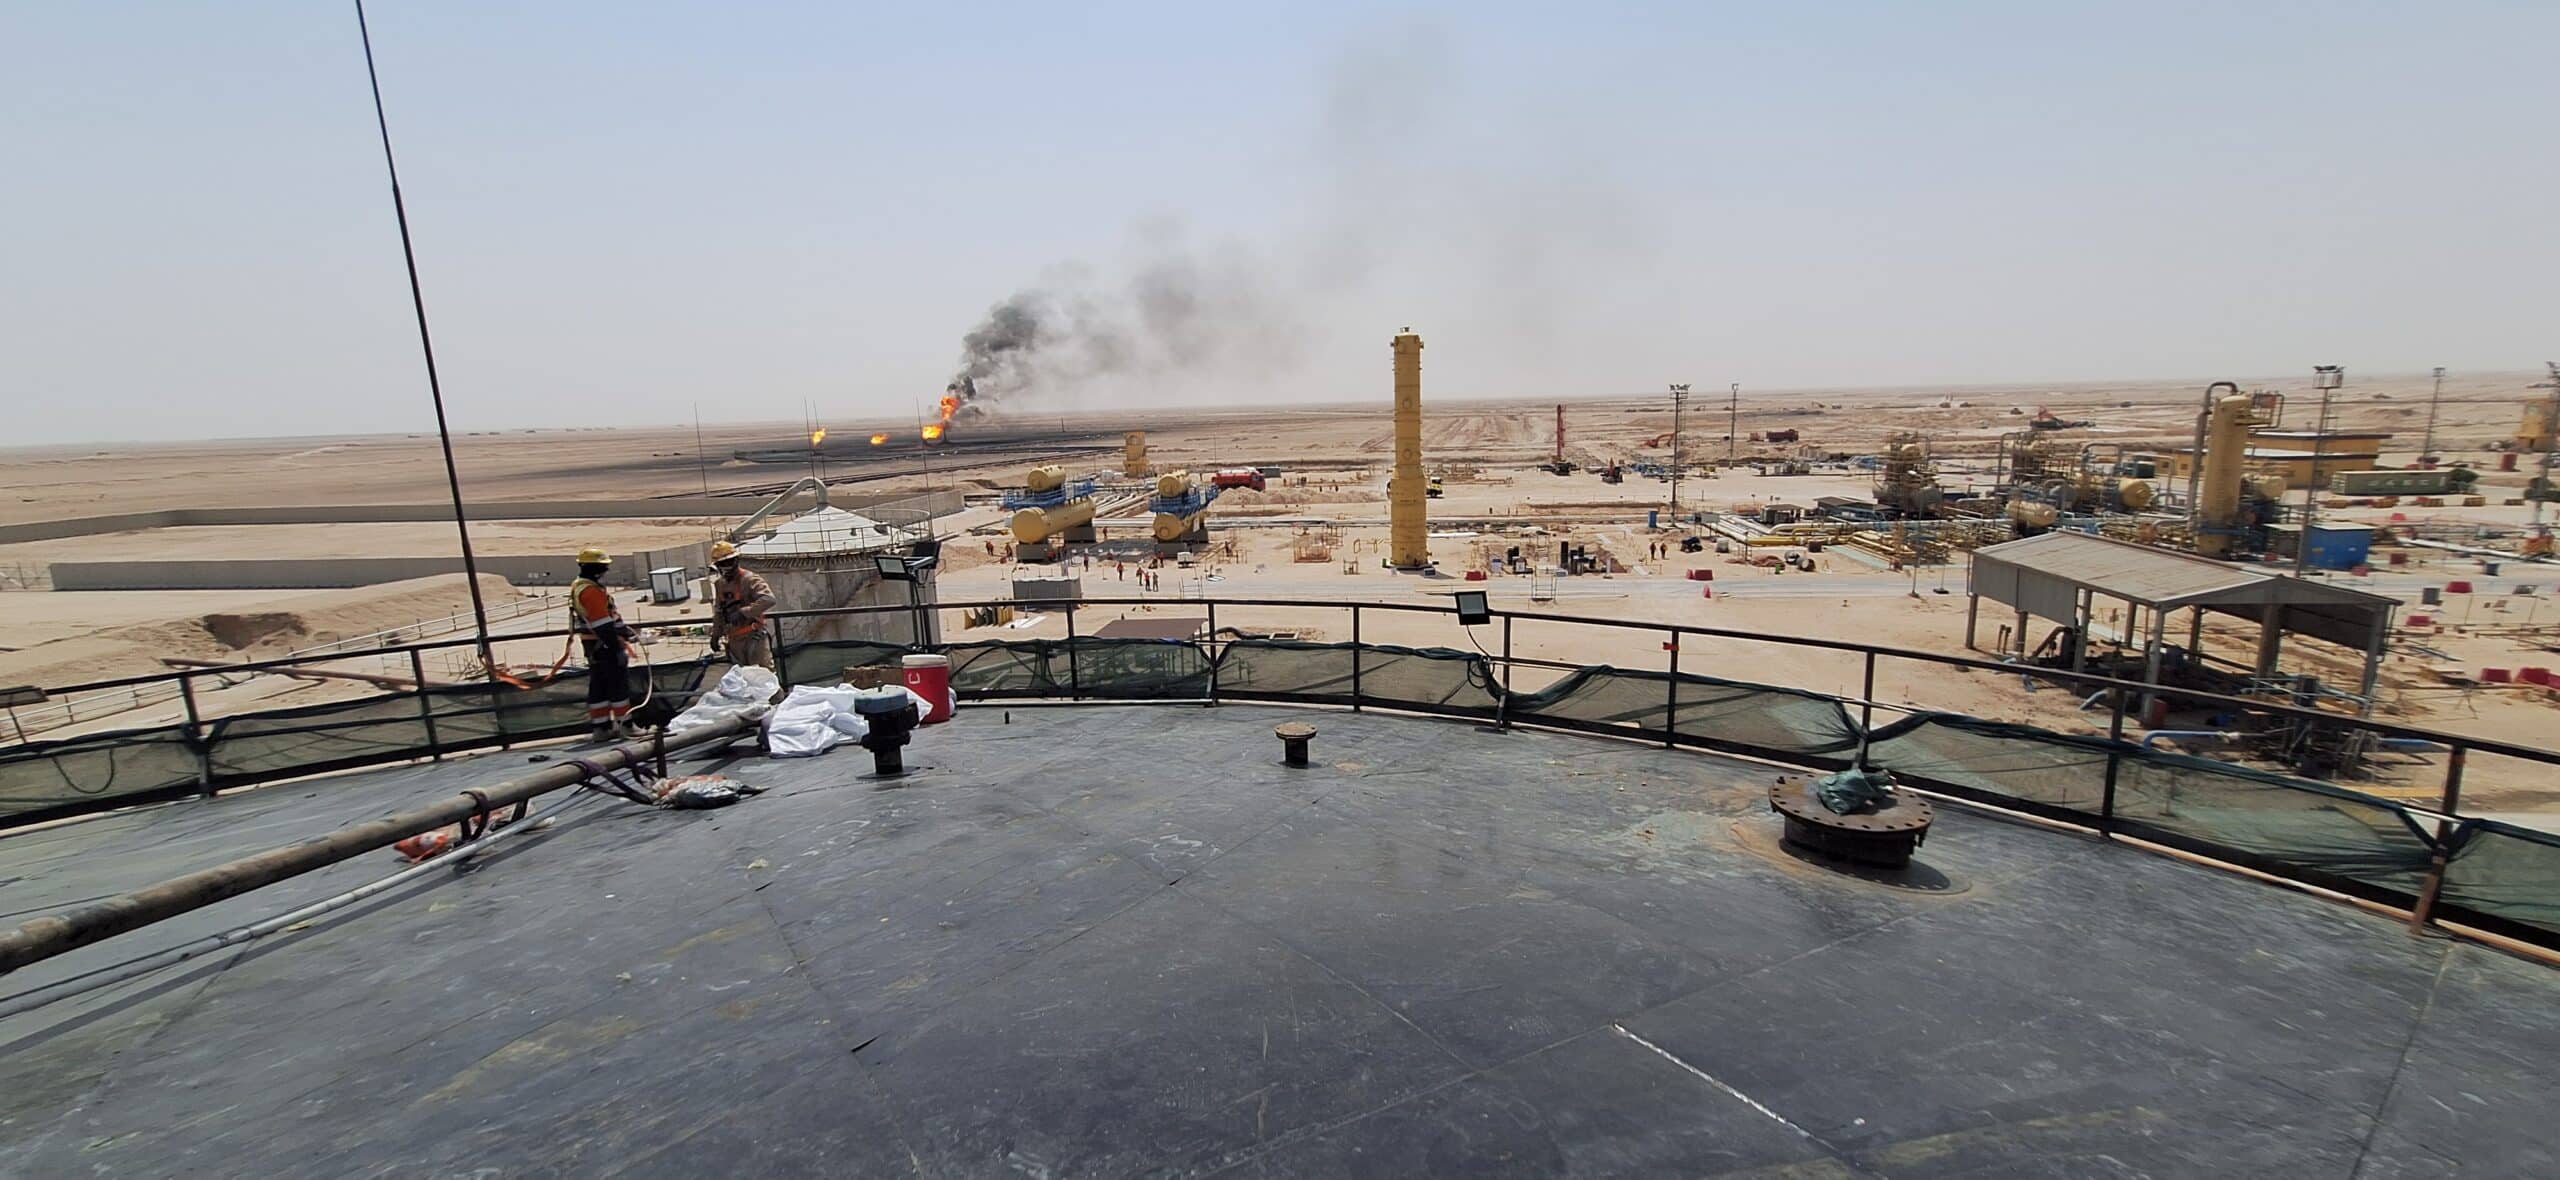
The final phase of this remarkable project was to restore the structural integrity of the tank roof. The roof had been severely compromised by extensive corrosion and prolonged exposure to extreme weather conditions, resulting in the formation of multiple perforations across its surface. To reinforce the structure it was decided to apply REINFORCEKIT® PATCH product on the total roof surface. The main stages of the composite repair process are as follows:
1. SURFACE PREPARATION: The entire surface of the tank roof was sandblasted to remove existing corrosion and foreign contaminants, ensuring proper surface preparation. Once sandblasting was completed, the quality of the surface preparation was verified. The roughness measurements showed an average of 103 microns, significantly exceeding the 60-micron value recommended by our procedures.
2. ANTI-CORROSIVE RESIN LAYER APPLICATION: A thin layer of resin was applied within 24 hours over the entire roof surface to ensure effective protection of exposed metal against corrosion. To meet this tight timeframe, a team of four applicators was mobilized to complete the operation. Hygrometric conditions were then checked to confirm compliance with application requirements.
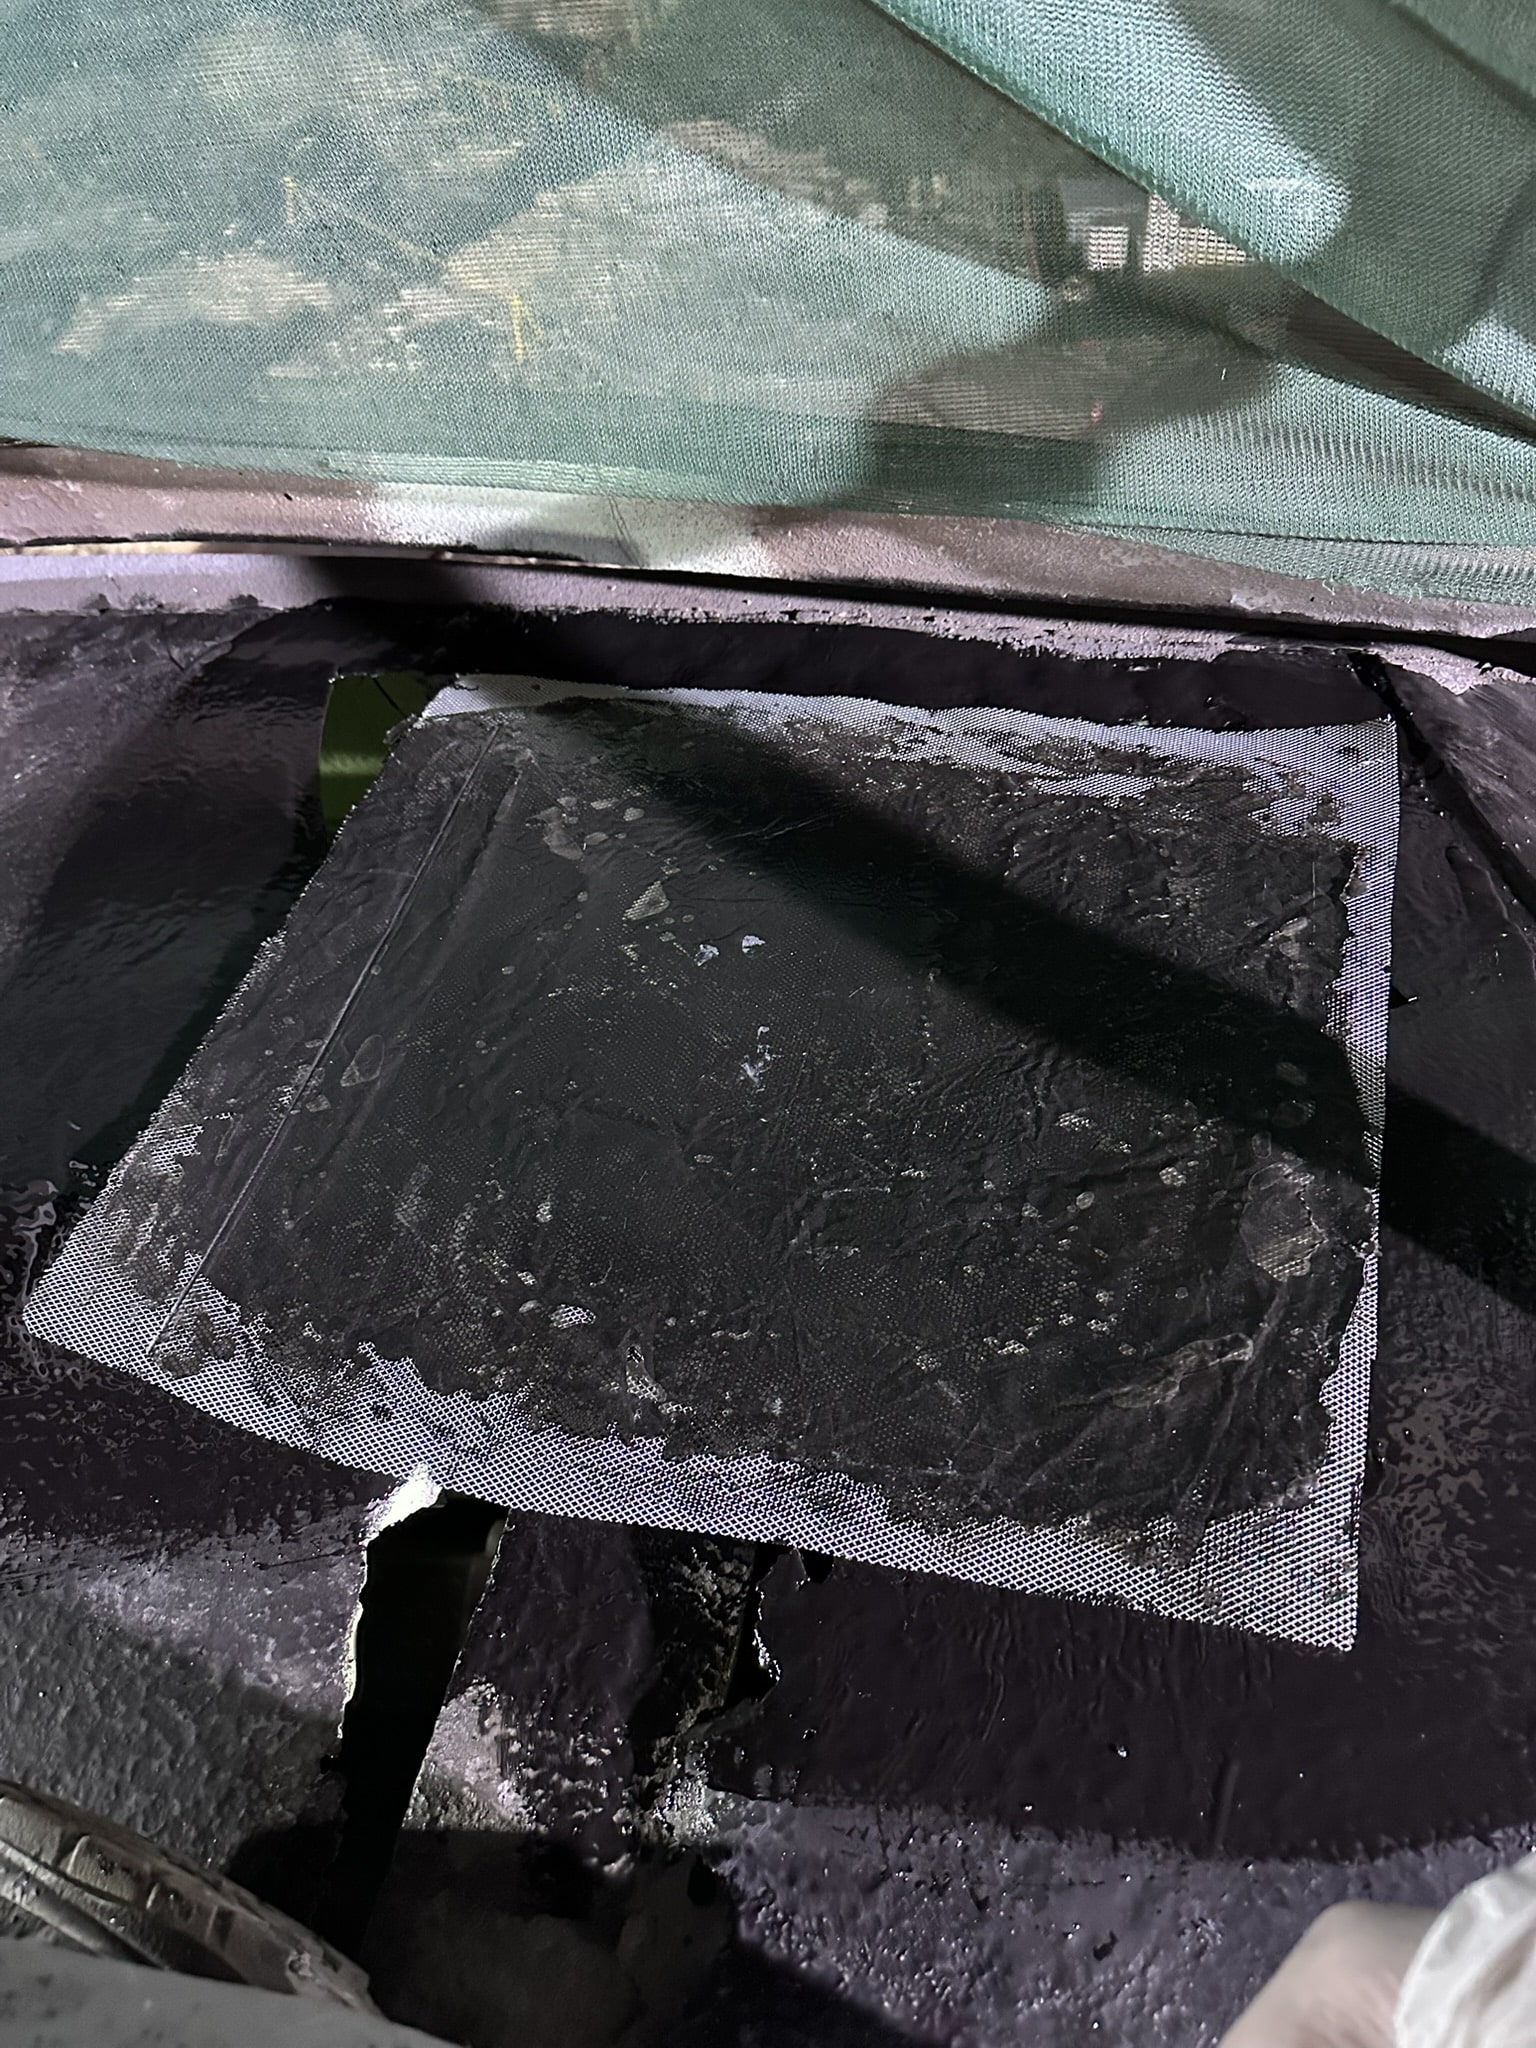
3. HOLE FILLING: The numerous holes on the roof were filled using a combination of wire mesh and 3X filler. Two types of damages were identified:
• Linear perforations or localised scratches along load-bearing beams.
• Larger openings leading to significant void formation across the roof surface. For both types of damage, the process remained the same while being adapted to the size and geometry of each defected area.
4. COMPOSITE PATCHING REINFORCEMENT:
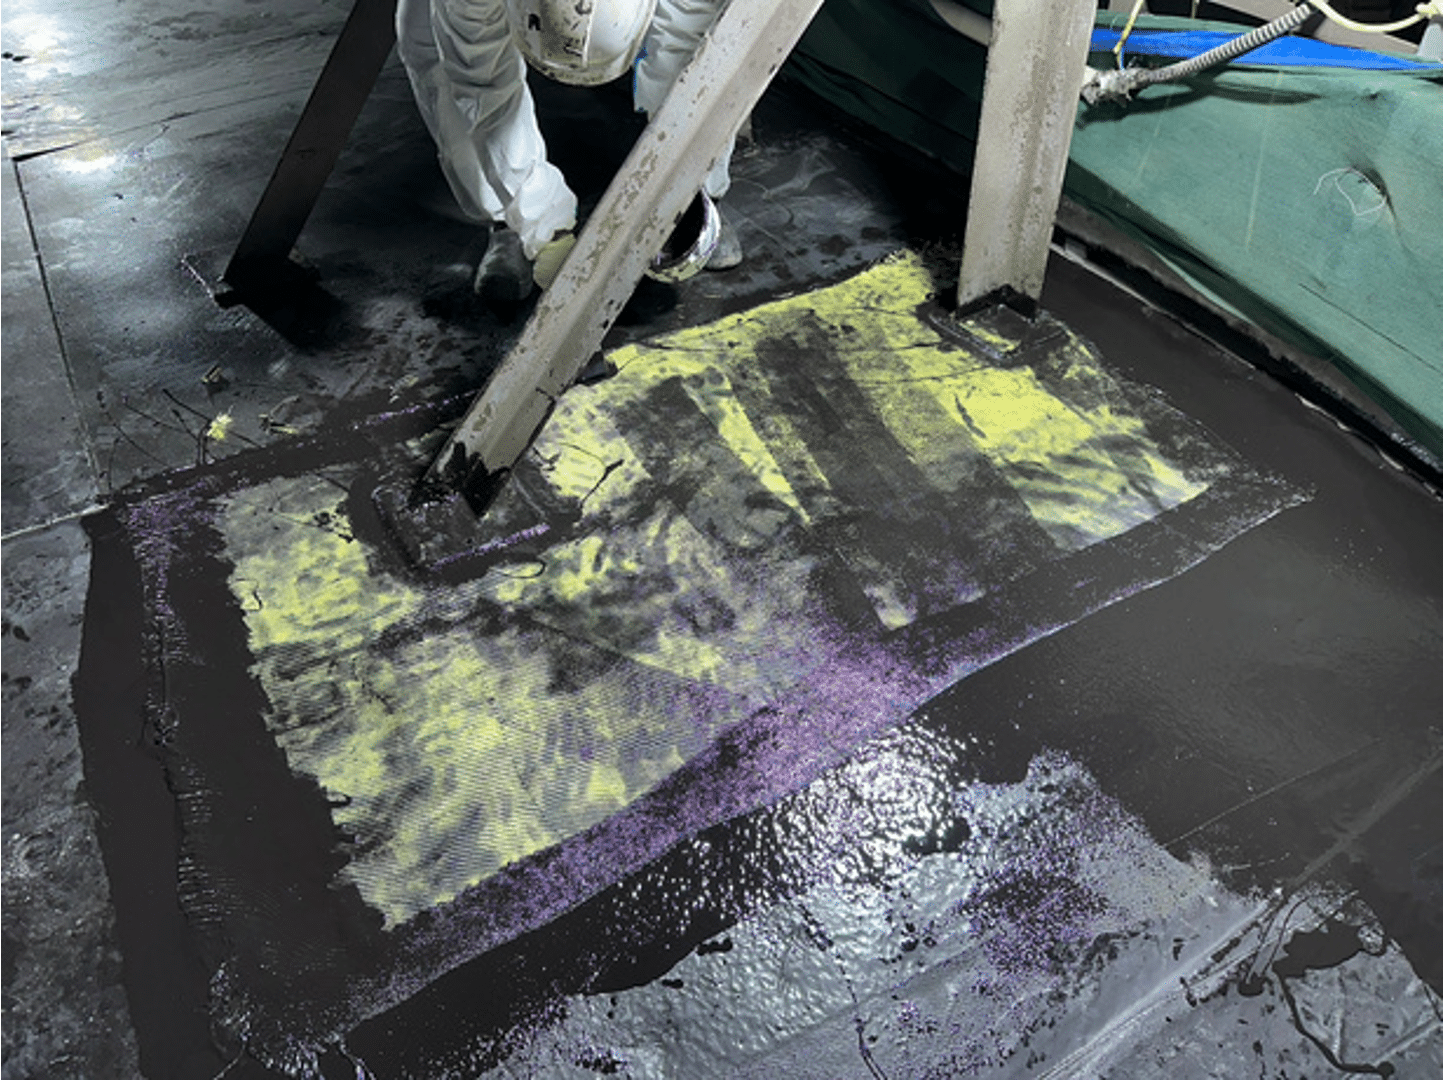
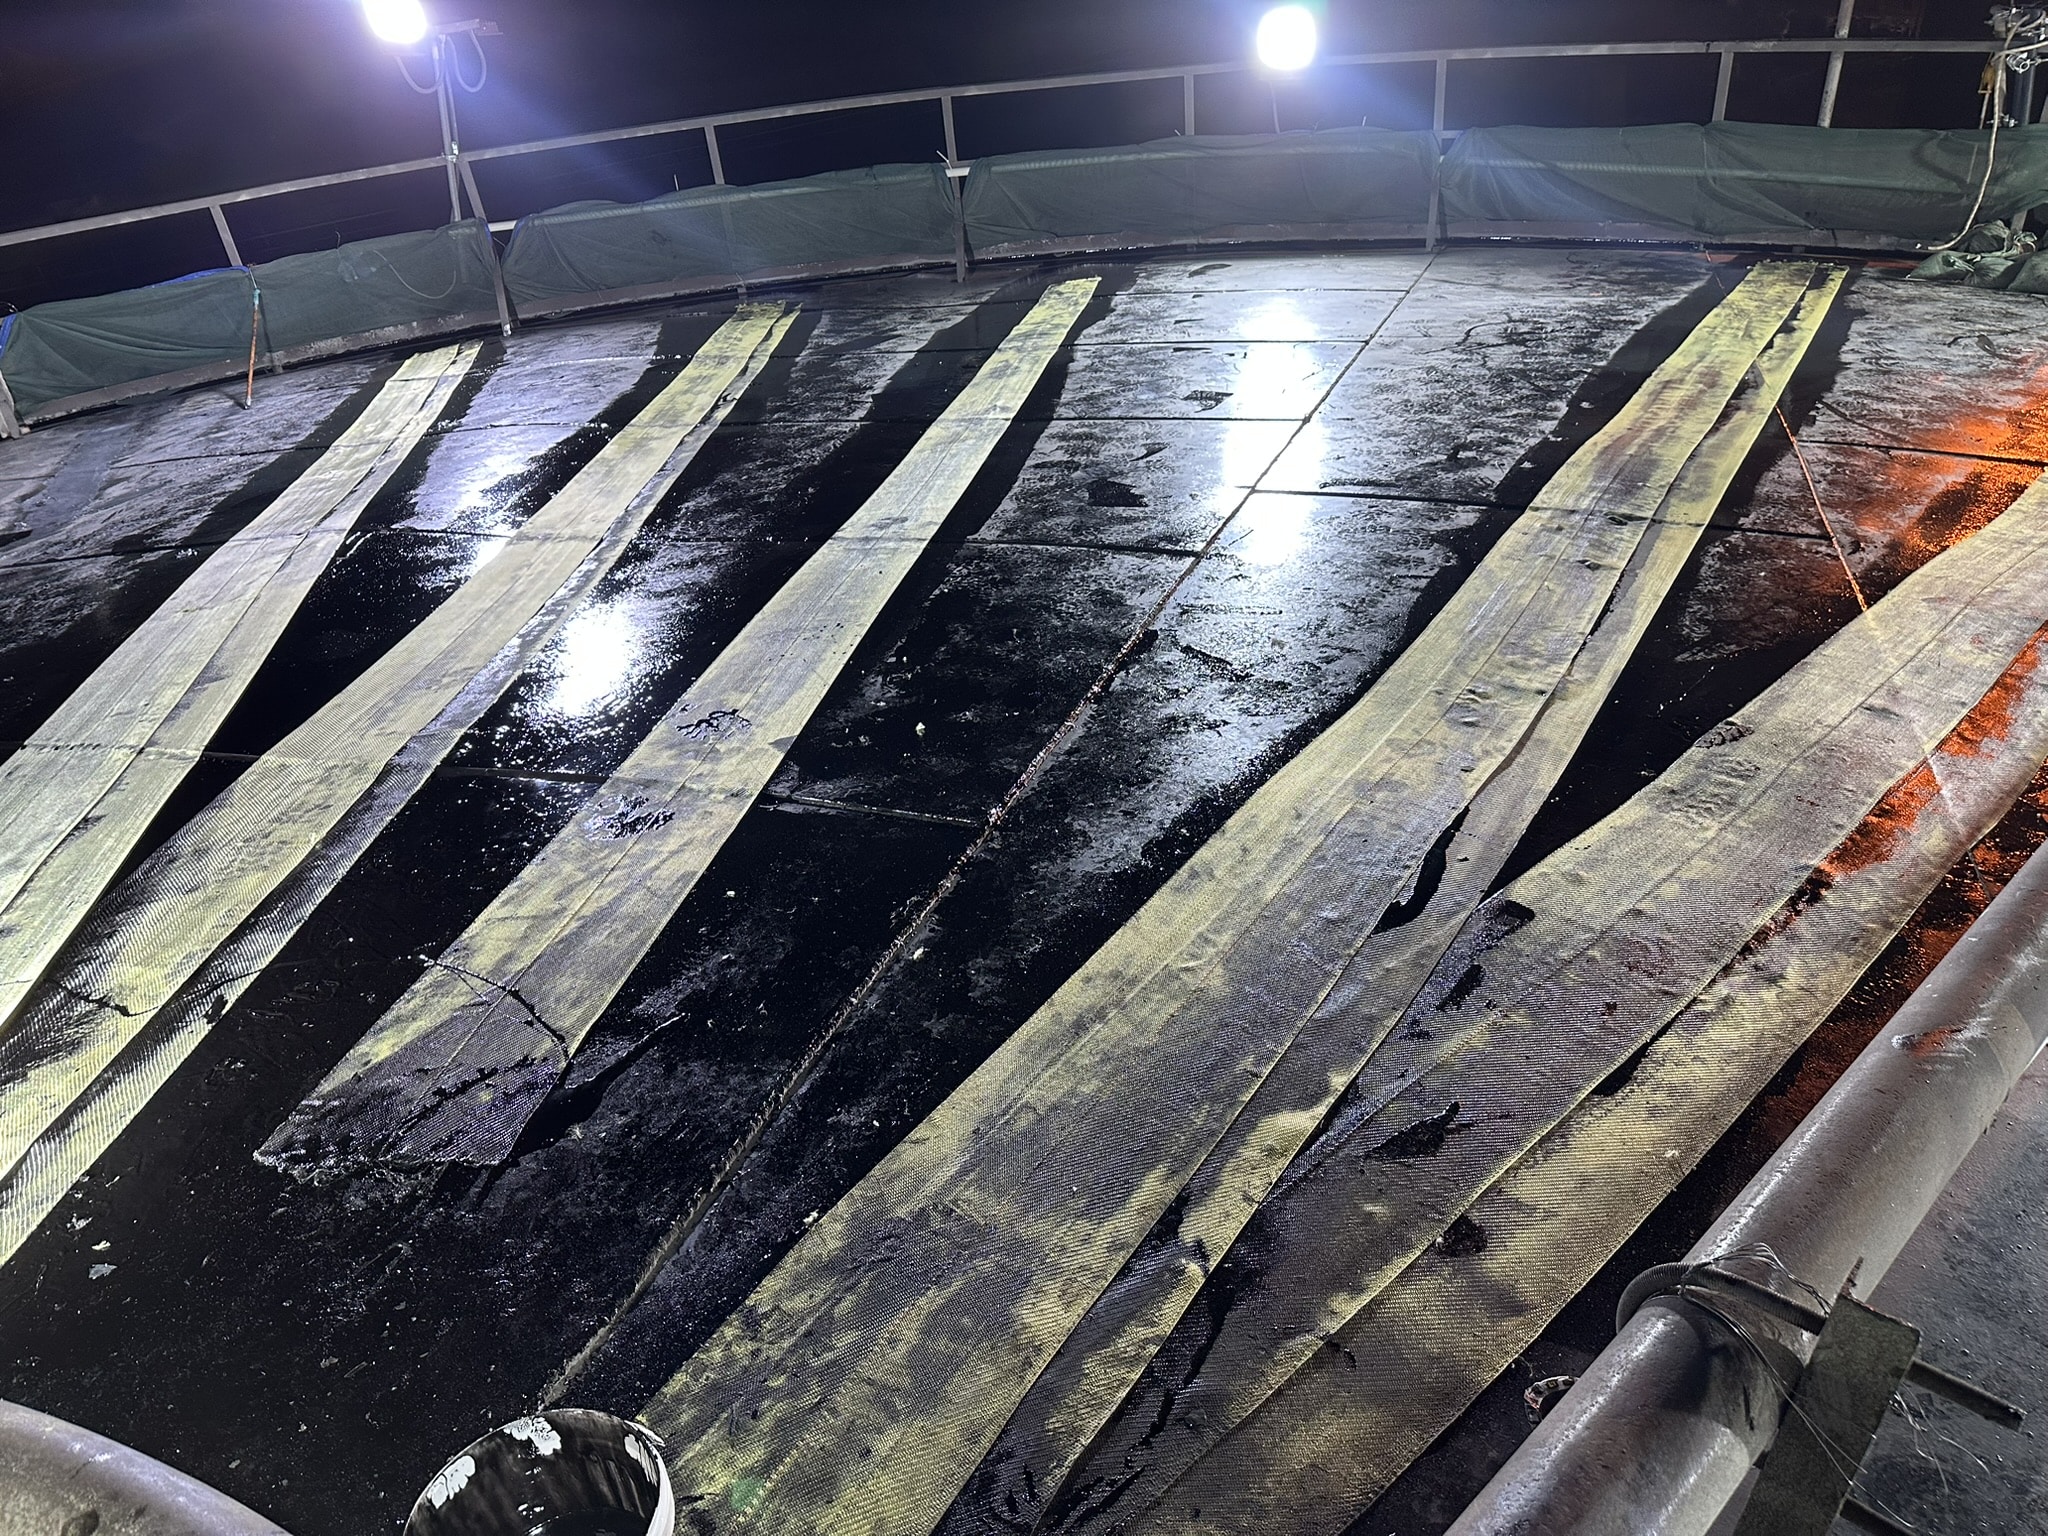
• Linear perforations were repaired using a 2-layer Kevlar® patch system impregnated with epoxy resin. The repairs were oriented along the support beams, forming a star-shaped reinforcement geometry.
• Larger holes were repaired using the same principles but with a five-layer system. Once the patches applied and cured, a final resin coating was applied.
5. ROOF COVERING: The final step consisted of covering the entire roof with 2 layers of Kevlar® tape impregnated with resin to ensure waterproofing and protect the roof against extreme weather conditions. A final 100mm wide strip was bonded around the perimeter of the tank.