REFLANGEKIT®, SF6 Leak – Australia
Flange composite sealing and repair solution
Overview
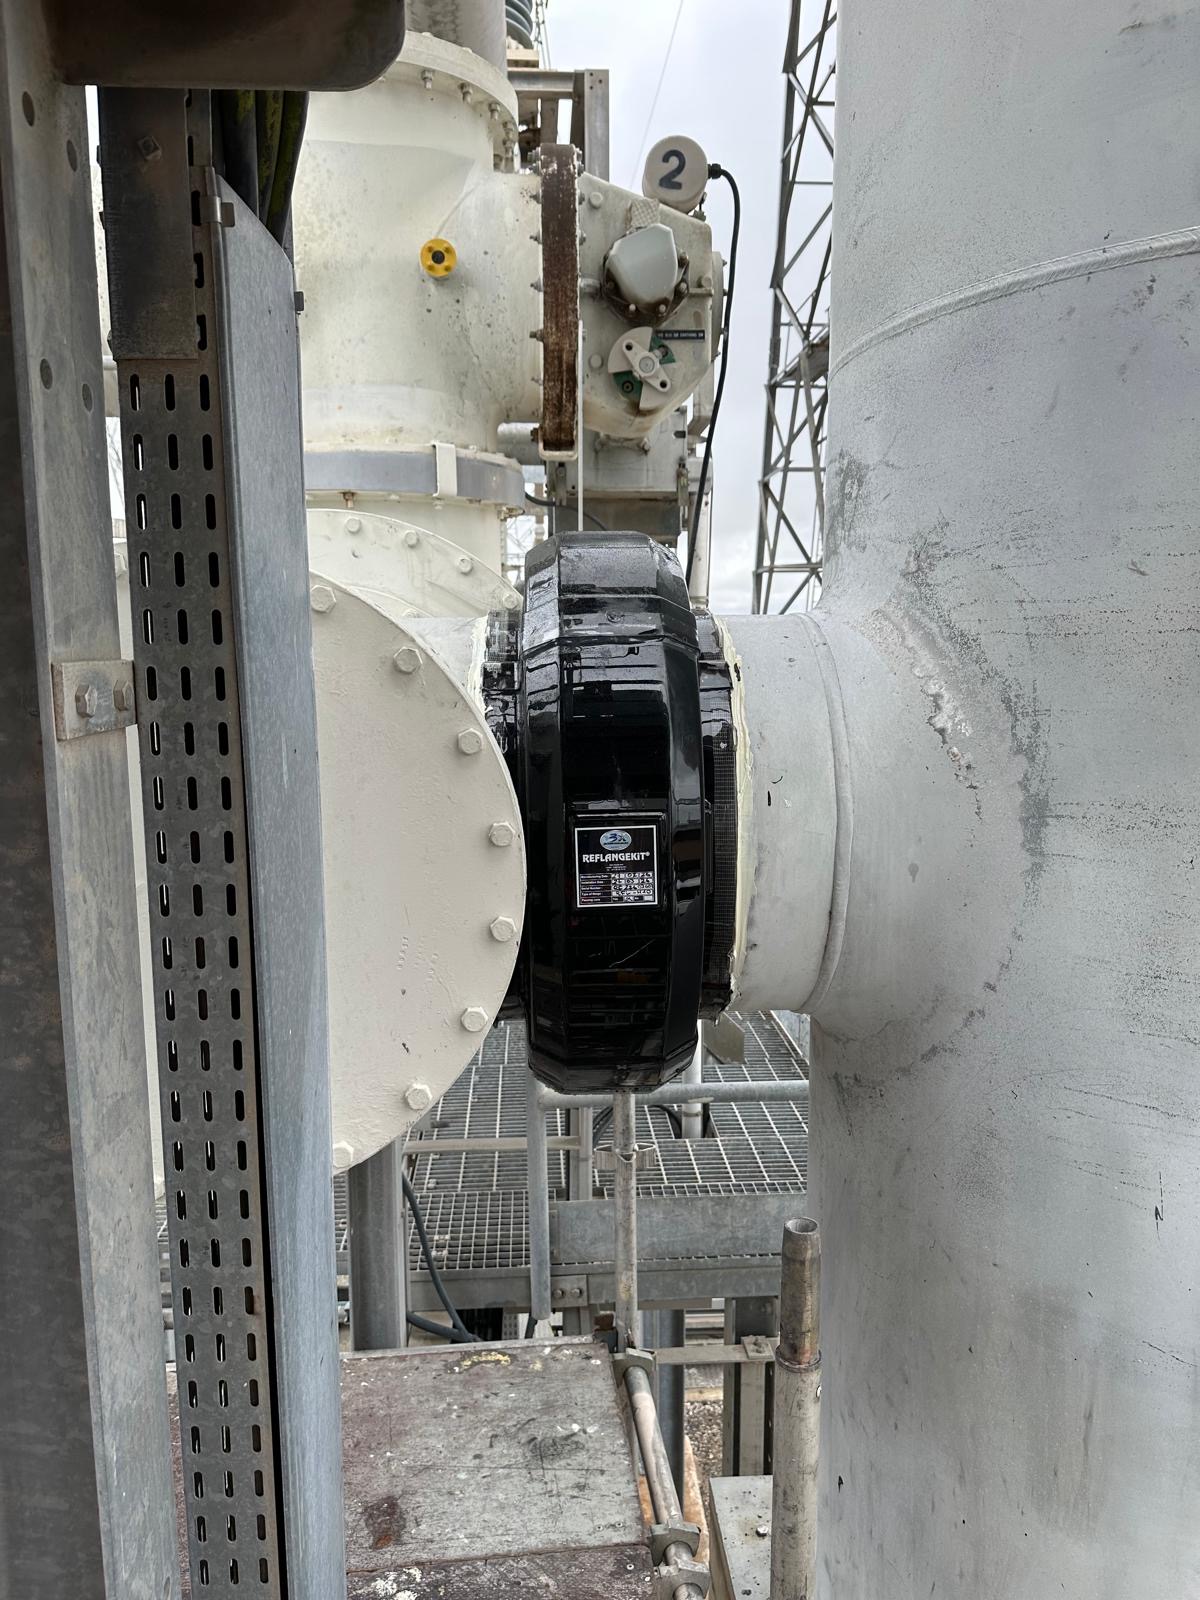
The repair, carried out in March 2026 by a 3X ENGINEERING (3X) specialist, was to stop an SF6 leakage at a flange connection. As SF6 gas is critical for equipment insulation and has environmental implications, restoring integrity was essential. Due to the elevated position of the flange, scaffolding was installed to ensure safe access.
Results
The REFLANGEKIT® solution enabled a safe and efficient sealing of the SF6 gas leak without interrupting operations. The repair system ensured durable adhesion and mechanical integrity under pressure. Leak tightness was successfully verified, confirming the effectiveness of the intervention.
 Defect type |
SF6 gas leaking flange |
Details |
H10 flange from the Hexablock 10 GIS (525 kV) |
Location |
Australia |
3X Product type |
REFLANGEKIT® |
Scope of work
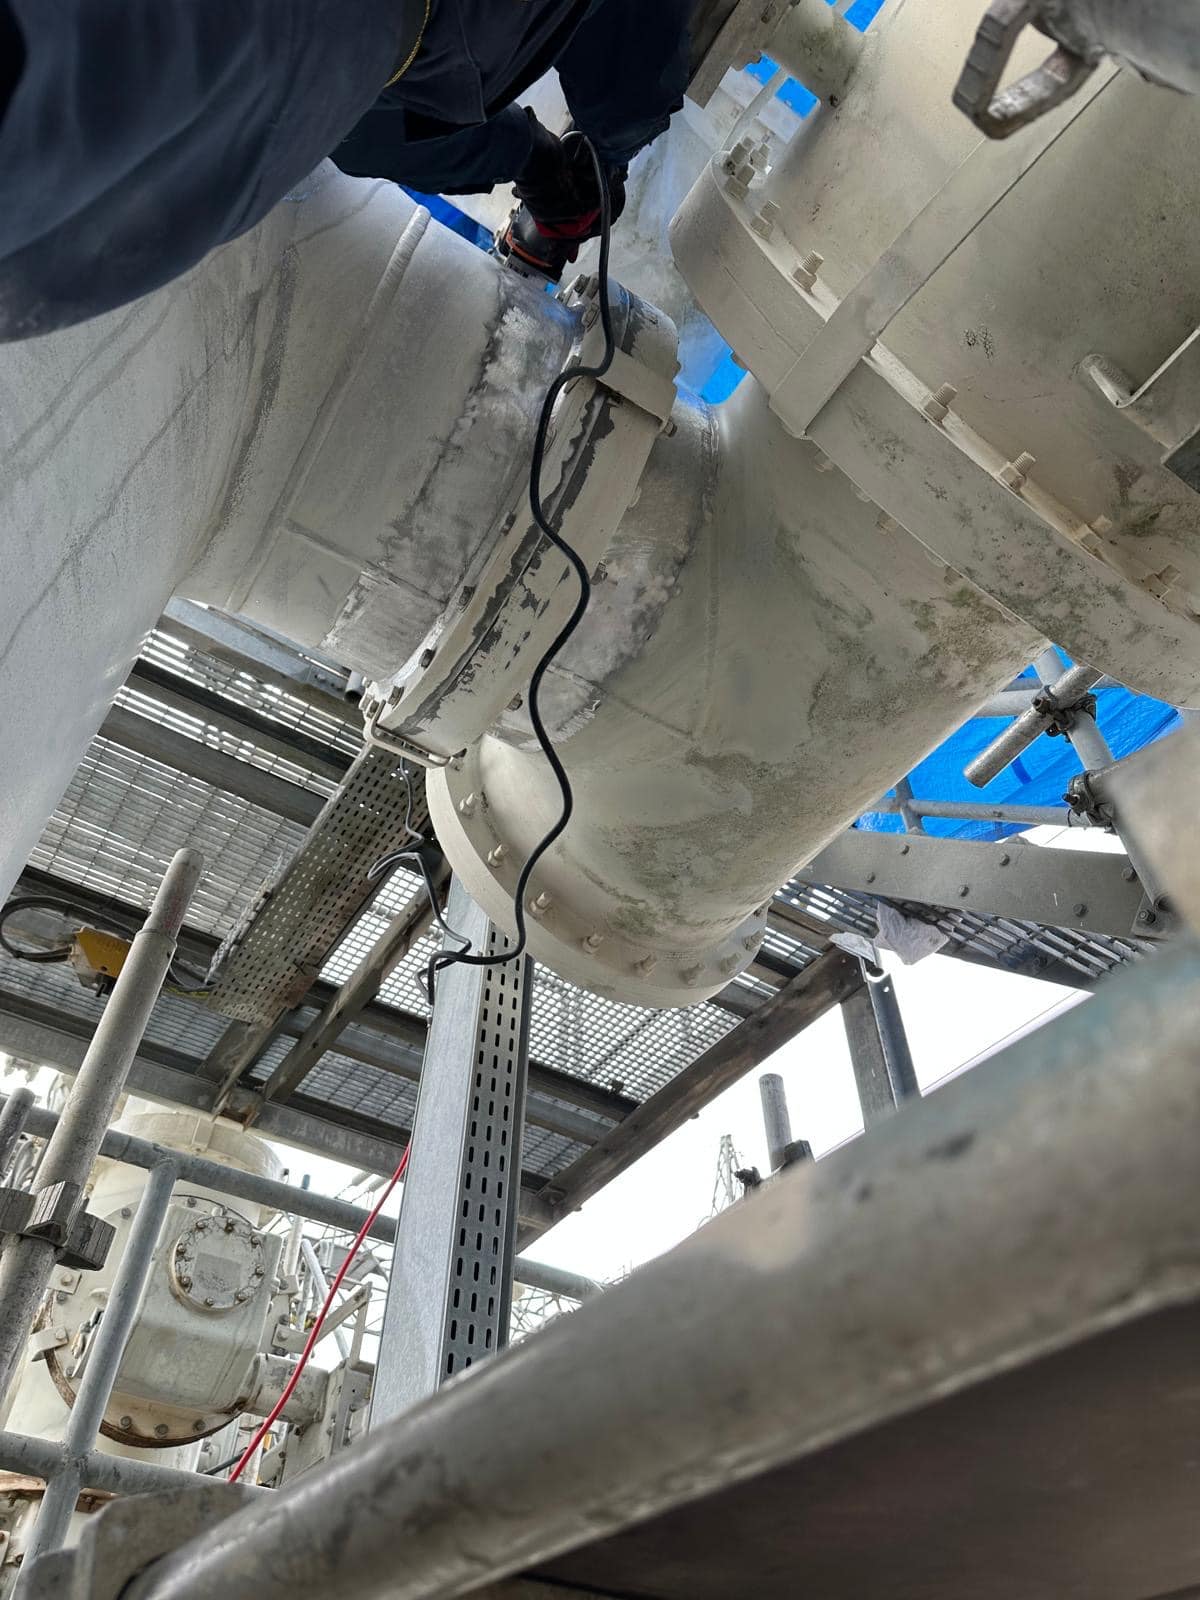
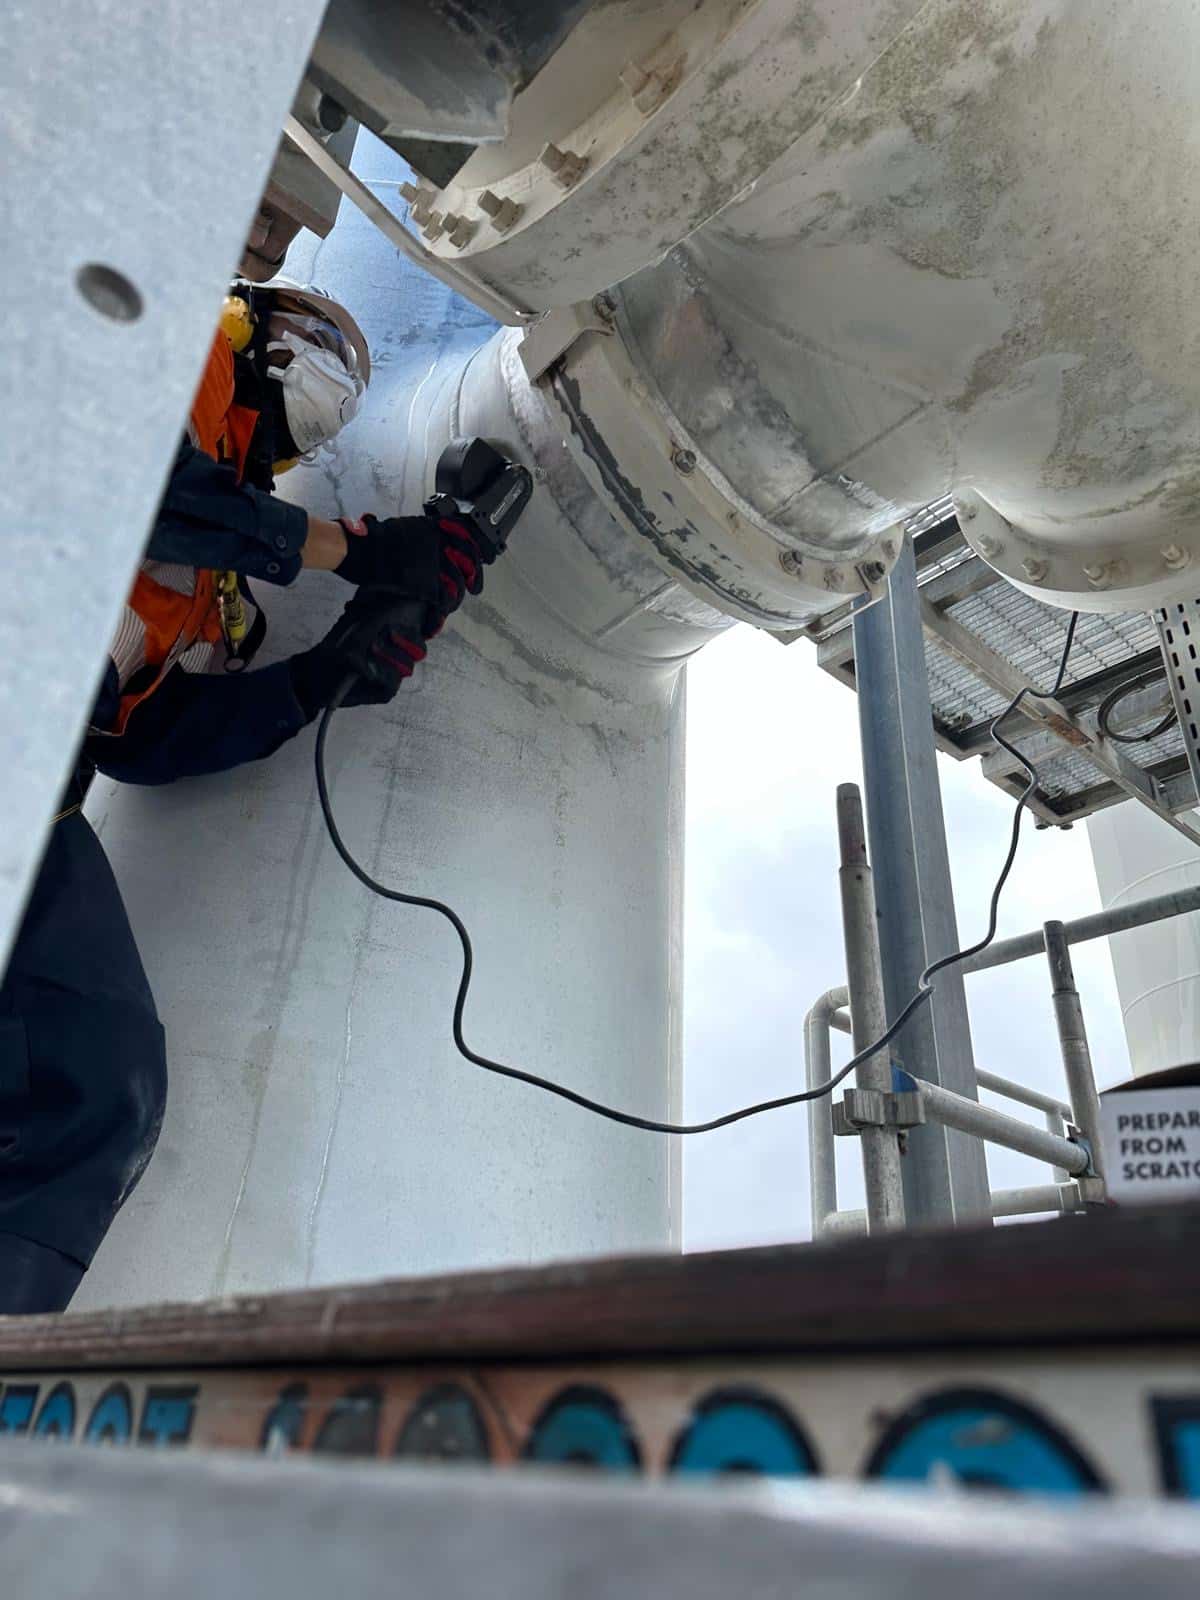
The flange repair was performed using the REFLANGEKIT® solution, specifically designed to seal SF6 gas leaks online and under pressure. Prior to surface preparation, hygrometric conditions were checked to ensure suitable application parameters. The surface was then prepared using a Bristle Blaster® machine to remove the existing coating and create an optimal surface profile, ensuring efficient adhesion of the sealing system to the substrate. Surface roughness was measured and the surface was cleaned and degreased prior to the REFLANGEKIT® application, according to the steps below:
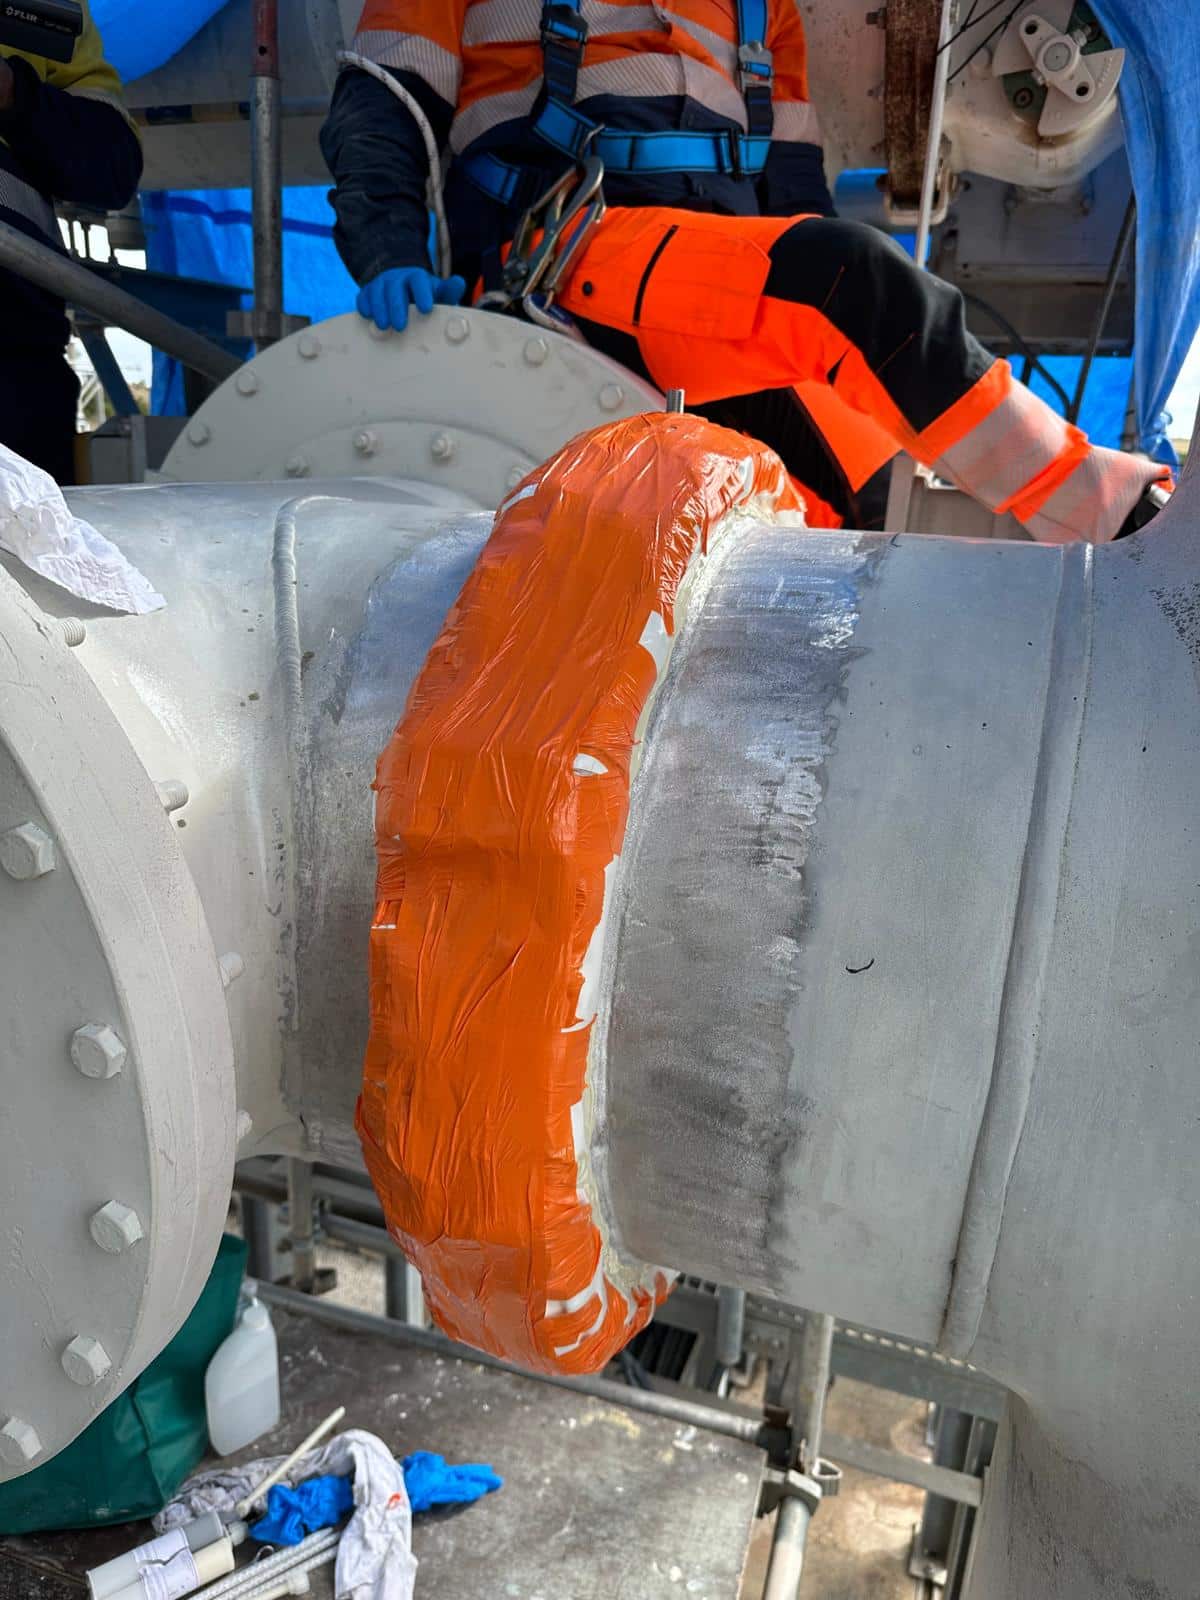
1. LEAK INSULATION: The soft shell was prepared and installed around the defective flange. The goal was to protect all functional components and concentrate the SF6 gas leak at a single point located at the top where the valve is positioned. Sealing of the soft shell was achieved using specific 3X filler and adhesive tape.
2. COMPOSITE REINFORCEMENT: Fiberglass impregnated with 3X resin was prepared and applied to the soft shell to reinforce the repair system.
3. HARD SHELL INSTALLATION: The rigid shell was prepared to fit perfectly with the valve location and was then positioned over the flange.
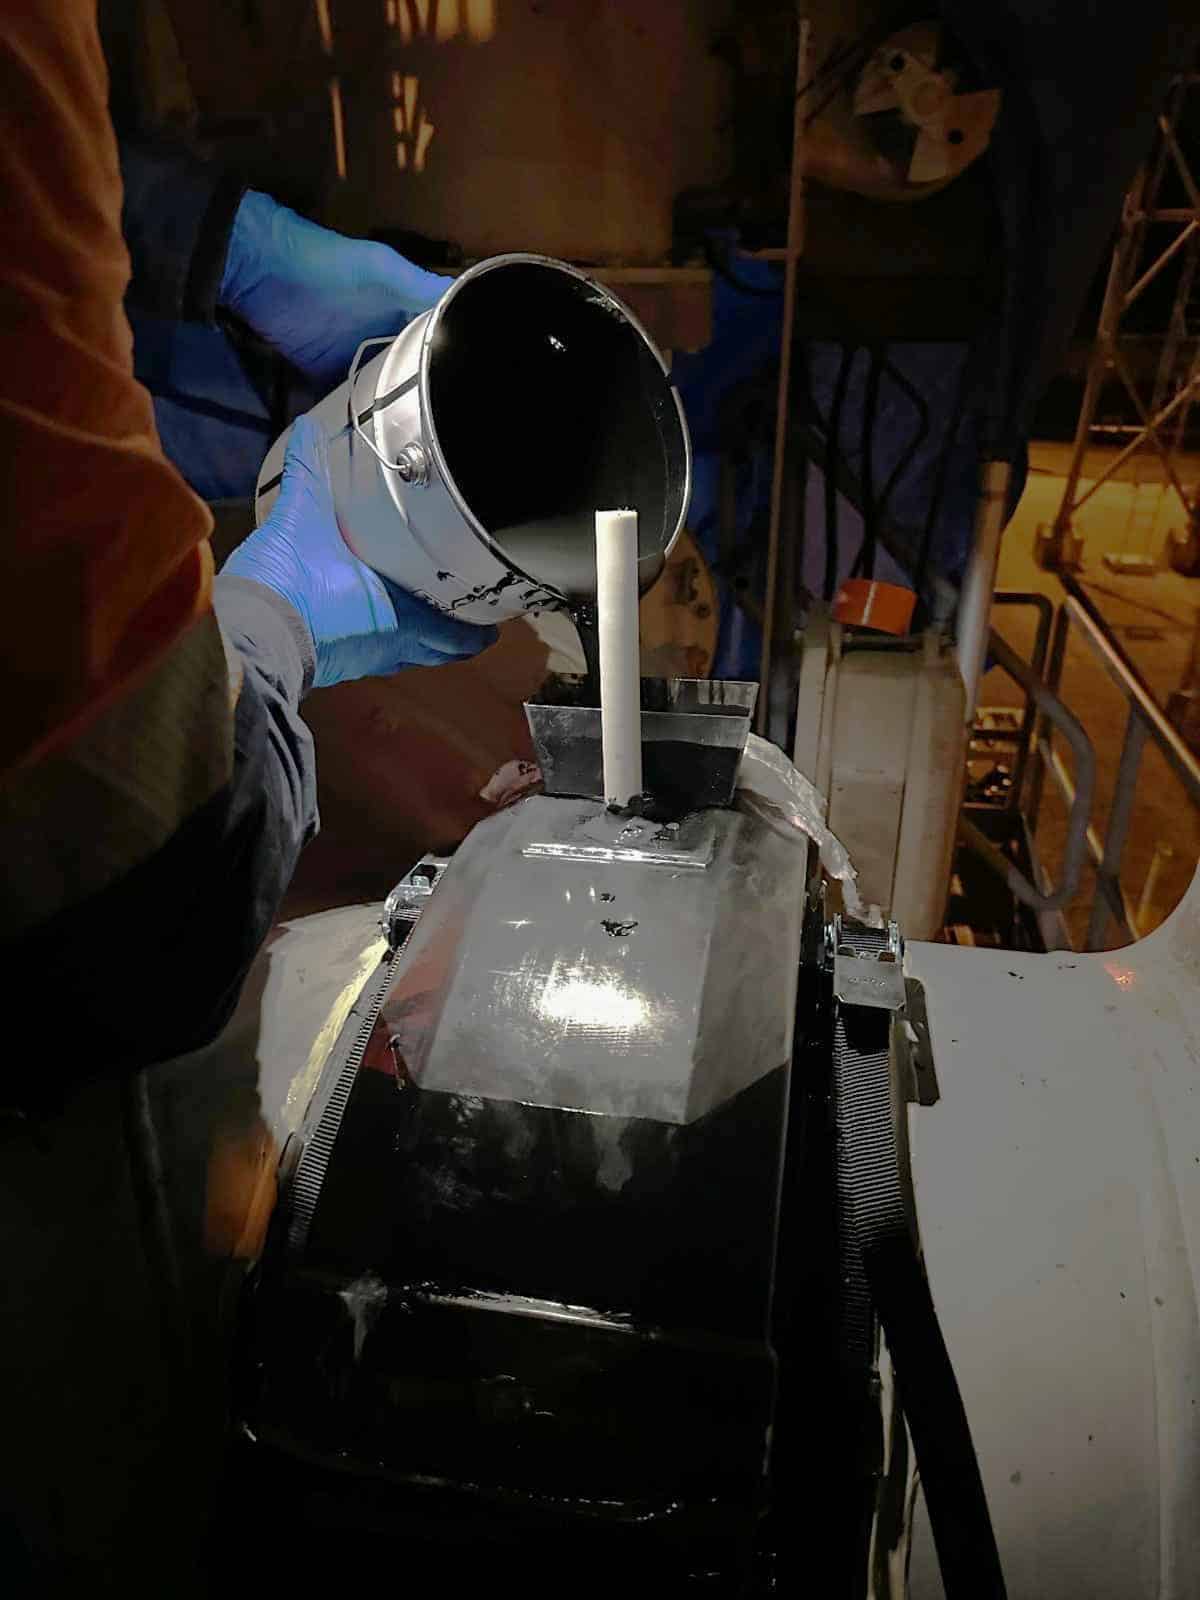
4. RESIN INJECTION: 3X resin was progressively injected into the rigid shell to prevent an excessive exothermic reaction and minimize thermal stresses.
5. VALVE CLOSURE: After 3X resin full curing, the valve was closed using a plug.
6. LEAK SEALING VERIFICATION & FINALIZATION: Valve tightness was checked using an SF6 gas detector to confirm that the leak had been successfully sealed. The repair was then finalized by encapsulating the valve with resin, and an identification plate was installed to ensure traceability.